
You can use the Ascend Detect AI's Artificial Intelligence with Diagnostic Enhancement (AIDE) tool to quickly zoom in on an image and apply various filters (such as colorization) all at once. This provides you with a better view of an area of concern without you having to manually apply image enhancements.
To use the AIDE tool
How to get to there
-
From the Patient menu, under Clinical, select Imaging.
The patient record displays with the Imaging tab selected.
Tip: You can also access imaging from other clinical areas such as Chart, Progress Notes, Quick Exam, Perio, or Tx Planner.
Note: If the correct patient is not already selected, use the Patient Search field to access the patient's record.
-
On the patient's record > Chart tab, complete one of the following:
-
View an image from the patient's image history list.
-
ClickTap the Imaging tab's menu and select Show Image History.

-
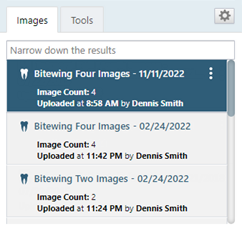
On the Images tab, select an exam for an individual bitewing or a series of bitewings.
-
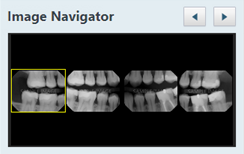
If you have selected a series, under Image Navigator, clicktap an image of that series.
-
-
View one of the patient's most recent images.
-
ClickTap the Imaging tab's menu and select Show Most Recent Images.
-
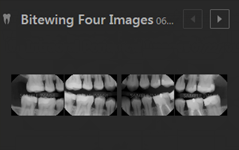
ClickTap an individual bitewing image or an image in a series of bitewings.
-
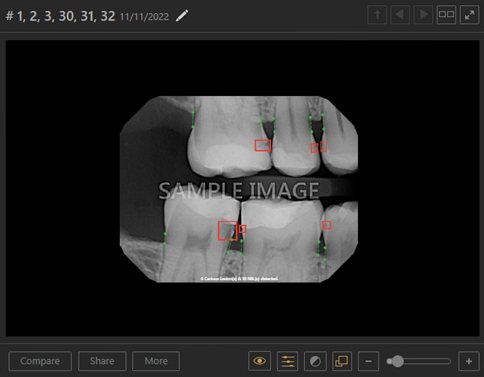
The selected image displays in the viewing area.
-
-
ClickTap a finding (caries or RBL) on the image and select AIDE.

-
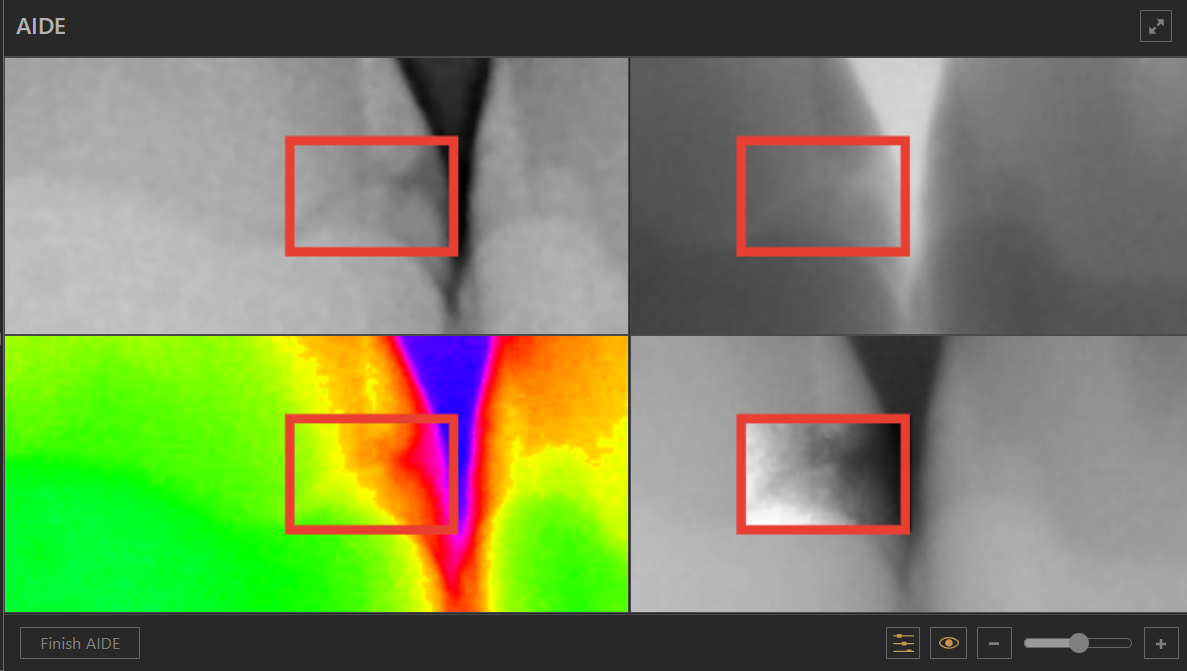
The AIDE tool viewer displays with the following four views:
-
Zoomed in, filtered (upper-left quadrant).
-
Zoomed in, inverted (upper-right quadrant).
-
Zoomed in, colorized (lower-left quadrant).
-
Zoomed in, unfiltered (lower-right quadrant).
-
-
Complete any of the following as needed:
-
To view the AIDE tool full screen, clicktap the Full Screen
 icon. To return to the normal view mode, clicktap the Normal Mode
  icon.
icon. -
To switch between showing and hiding the bone level indicator lines and caries indicator boxes in all four views, clicktap the Show/hide annotations and measurements
 icon.
icon. -
To switch between applying and removing enhancements for the upper-left view, clicktap the Turn image enhancement on/off
 icon.
icon. -
To increase the zoom level (zoom in) for all four views, move the Zoom slider to the right. To decrease the zoom level (zoom out) for all four views, move the slider to the left. If you are using a mouse, you can also zoom in and out by positioning the pointer over the image (the pointer will change to cross hairs) and rotating the scroll wheel of your mouse.

-
While you are zoomed in on the image (so that the whole image is not visible in the views), to pan across the image (move the visible area of the image up, down, left, and/or right) for all four views simultaneously, right-click a view, and drag anywhere inside that view.
-
To adjust the brightness of a view, clicktap in that view and drag up or down to respectively increase or decrease the brightness.
-
To adjust the contrast of a view, click in that view and drag left or right to respectively decrease or increase the contrast.
-
After adjusting the brightness and/or contrast of a view, to reset the brightness and contrast of that view, double-clickdouble-tap in that view.
-
-
ClickTap Finish AIDE.
Comments
0 comments
Please sign in to leave a comment.