
As needed, you can submit a periapical or bitewing for analysis if it was acquired before Ascend Detect AI was activated, or if it was acquired after Detect AI was activated for caries detection but before your licenses were upgraded to include bone level detection.
To manually submit a periapical or bitewing for bone level and caries detection
How to get to there
-
From the Patient menu, under Clinical, select Imaging.
The patient record displays with the Imaging tab selected.
Tip: You can also access imaging from other clinical areas such as Chart, Progress Notes, Quick Exam, Perio, or Tx Planner.
Note: If the correct patient is not already selected, use the Patient Search field to access the patient's record.
-
On the patient's record > Chart tab, complete one of the following:
-
View an image from the patient's image history list.
-
ClickTap the Imaging tab's menu and select Show Image History.

-
On the Images tab, select an exam for an individual image or a series.
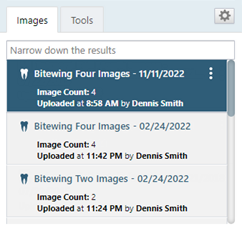
-
If you have selected a series, under Image Navigator, clicktap an image of that series.
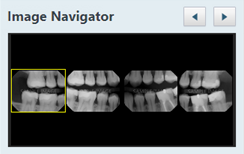
-
-
View one of the patient's most recent images.
-
ClickTap the Imaging tab's menu and select Show Most Recent Images.
-
ClickTap an individual image or an image in a series.
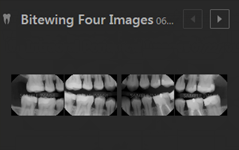
-
The selected image appears in the viewing area.

-
-
ClickTap the Tools tab.
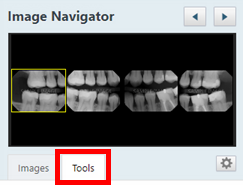
-
Select the AI tool.
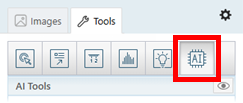
-
If the Auto-Submit Historical Images checkbox is selected, and if the periapical or bitewing does not have bone level or caries analysis results, the image is submitted for analysis automatically; otherwise, clicktap Submit for analysis.
Note: If the Auto-Submit Historical Images checkbox is clear, and if the image was not analyzed previously, you must clicktap Submit for analysis to get the analysis results.
The following can display on the image:
-
Results of the bone level analysis - Dashed lines display on the image where bone levels were measured. The color of a line (white, green, yellow, orange, or red) is determined by the severity of the calculated bone loss. Also, purple dots display on the image where root apexes (if any) were detected.
Note: You can position your pointer over a bone level measurement to view the calculated percentage of bone loss.
-
Results of the caries analysis (if applicable) - Boxes display on the image where areas of concern were detected.
Note: The number of caries detections and bone level measurements display in fine print at the bottom of the image.

Notes:
-
To switch between showing and hiding the bone level indicator lines, root apex indicator dots, and caries indicator boxes, clicktap the Select object(s) to Display
 icon to display the Select Object(s) to Display window, select or clear the AI Analysis checkbox, and clicktap Confirm.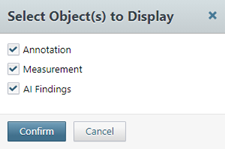
-
To switch between showing and hiding all annotations, measurements, bone level indicator lines, root apex indicator dots, and caries indicator boxes for the image, clicktap the Show/hide annotations and measurements
 icon. The icon is available only if an annotation, a measurement, bone level analysis, or caries analysis has been applied to the image.
-
Note: If you rotate an image or zoom in or out, it is automatically resubmitted for analysis, and it may take 3-5 seconds for the indicator boxes and lines to redisplay.
Comments
0 comments
Please sign in to leave a comment.