
With Ascend Detect AI activated, you can view all AI findings on Videa Health's website from Ascend Academic Imaging. While reviewing, you can easily confirm, reject, or monitor the listed AI findings.
To view all findings in Videa AI
How to get to there
-
From the Patient menu, under Clinical, select Imaging.
The patient record displays with the Imaging tab selected.
Tip: You can also access imaging from other clinical areas such as Chart, Progress Notes, Quick Exam, Perio, or Tx Planner.
Note: If the correct patient is not already selected, use the Patient Search field to access the patient's record.
-
On the patient's record > Chart tab, complete one of the following:
-
View an image from the patient's image history list.
-
ClickTap the Imaging tab's menu and select Show Image History.

-
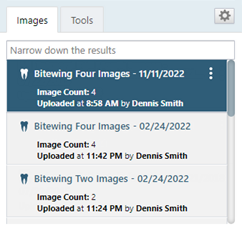
On the Images tab, select an exam for an individual image or a series.
-
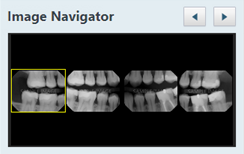
If you have selected a series, under Image Navigator, clicktap an image of that series.
-
-
View one of the patient's most recent images.
-
ClickTap the Imaging tab's menu and select Show Most Recent Images.
-
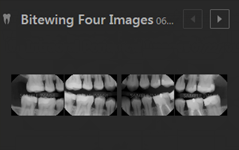
ClickTap an individual image or an image in a series.
-
The selected image displays in the viewing area.

-
-
ClickTap the Tools tab.

-
ClickTap the AI tool and clicktap the Show All Findings in Videa AI link.

Note: You are logged in automatically.
By default, the website displays AI findings for the patient including all potential periodontal disease or caries requiring restorations for a patient if detected by the AI.

-
Complete any of the following:
-
Confirm findings
-
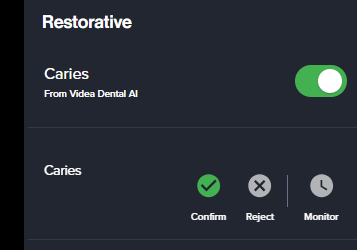
Next to a listed finding, clicktap the Confirm button.
-
-
Reject findings
-
Next to a listed finding, clicktap the Reject button.

-
-
Monitor findings
-
Next to a listed finding, clicktap the Monitor button.

-
-
Comments
0 comments
Please sign in to leave a comment.