
The Predetermination - Unsent report displays a list of unsent predeterminations that were created in the last 180 days.
To generate the report
How to get there
-
From the Home menu, under Reports, clicktap Power Reporting.
The Power Reporting page displays.
-
On the Power Reporting page, select Clinical to generate a list of clinical reports.
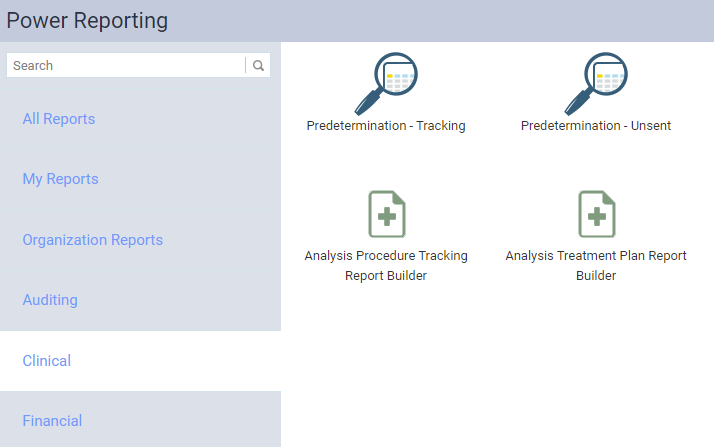
Tip: Instead of selecting Clinical, you can enter Predetermination - Unsent in the Search field on the left-corner of the page to locate the report's icon.
-
ClickTap the Predetermination - Unsent icon.
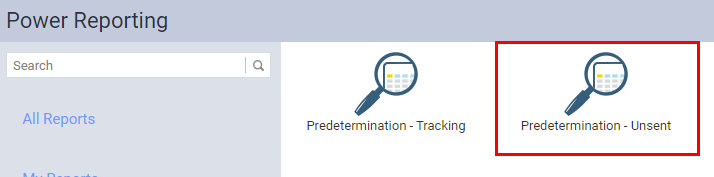
The report displays.
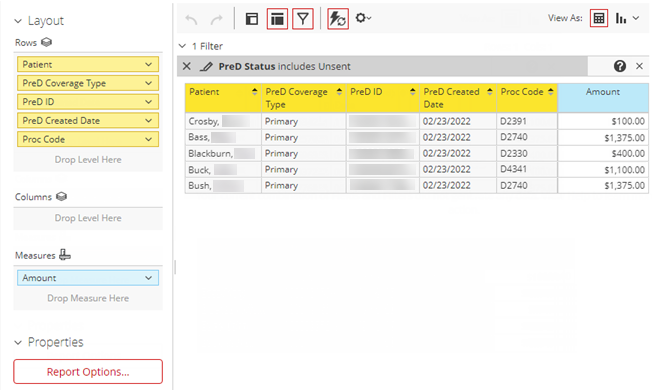
The report displays the following information per predetermination:
-
Patient - The name of the patient on the predetermination.
-
PreD Coverage Type - Whether the predetermination was submitted for primary or secondary insurance coverage. This field reflects only the most recent submission.
-
PreD ID - The unique ID of the predetermination.
-
PreD Created Date - The creation date of the predetermination.
-
Proc Code - The predetermination's procedure codes. A code displays once regardless of how many instances of that code are on the predetermination.
-
Amount - For each procedure code on the predetermination, the amount that is to be submitted to the payer. If there are multiple instances of that code on the predetermination, the amount is the sum of all the instances of that code on the predetermination.
Tip: To see how many instances of each procedure code contribute to the Amount, you can add the Procedure Count data field to the report layout.
-
-
(Optional) Clicktap the Data as of button to view the time when the next sync is expected to occur.

Note: Data from your database automatically syncs with the reporting system and displays the time of the last sync on the button. Data entered after the last sync will not be available on the report until the next sync.
The Sync Info window displays.

-
Using the analysis report builder tools, add data fields to the layout and set the filters as necessary.
-
(Optional) Save the report as a template.
-
ClickTap Save.

The Save Report window displays.

-
Select the following fields as necessary:
-
Report Name - Enter the name of the report.
-
Save To My Reports - Select the radio button to have the template only available to you.
-
Save To Organization Reports - Select the radio button to have the template available to all users.
-
-
ClickTap OK.
-
-
(Optional) Export the report as a PDF, Excel, or CSV file.
-
ClickTap the
 icon.
icon.
-
Position the pointer overTap and hold Export and select the desired file format.

A window with options to set the file's format displays.
-
Set the file's format on the displayed window, such as the export options, page format, and page orientation.
-
ClickTap Done to only apply the settings to the report or clicktap Export to apply the settings to the report and export it.
-
Comments
0 comments
Please sign in to leave a comment.