
You can manage your organization's document tags in the document manager.
Note: Managing document tags requires the "Manage Document Tags" security right.
To manage document tags
-
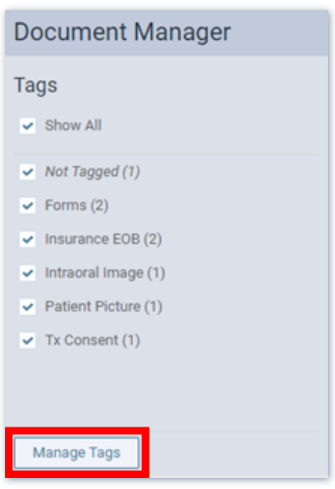
On any patient's Document Manager page, click (or tap) Manage Tags.
The Manage Tags dialog box appears.

Note: By default, up to 40 of your organization most commonly used tags appear. The maximum number of tags that can be displayed at any given time is 40.
-
Do any of the following as needed:
-
Search for a tag - Begin typing in the Search tags box. Continue typing as needed to narrow the search results.

-
Create a tag - Verify that the desired tag does not already exist by performing a search. If it does not exist, click (or tap) + Create to create a tag using what you have typed in the box as the name.

Note: The + Create button is available only if there are 40 or fewer tags in the search results.
-
Delete a tag - Search for the unwanted tag, and then click (or tap) its X.

Note: System tags have a lock icon. You cannot delete a system tag.
Depending on if the tag is attached to any documents, do one of the following:
-
If the tag is not attached to any documents, the Delete Tag message appears. Click (or tap) Delete.

-
If the tag is attached to any documents, the Delete Tag message appears and displays the number of documents that will be affected. Do one of the following:
-
To delete the tag and remove it from the documents it is attached to, leave the Delete option selected, and then click (or tap) Delete.
-
To delete the tag, replacing it for documents it is attached with a different tag, select the Replace option, click (or tap) in the Search tags here box to open a list, begin typing a tag name, continue typing until the desired tag is displayed in the search results list, select that tag, and then click (or tap) Delete.

-
-
-
-
Click (or tap) Done.
Comments
0 comments
Please sign in to leave a comment.