
To resume clinical notes
How to get there
-
On the Home menu, under Location, select Overview.
The Provider Overview page displays.
Note: If the Overview page displays instead, set the Provider Overview toggle to Yes.
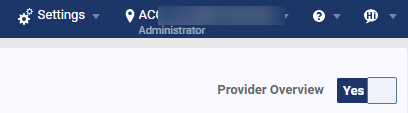
Important: If you are not a provider, the toggle does not display.
How to get there
-
From the Patient menu, under Clinical, select Chart.
The patient record displays with the Chart tab selected.
Tip: You can also access clinical notes from the Progress Notes, Quick Exam, Perio, Imaging, or Tx Planner tabs.
Note: If the correct patient is not already selected, use the Patient Search field to access the patient's record.
How to get there
-
From the Patient menu, under Clinical, select Progress Notes.
The patient's clinical record displays with the Progress Notes tab selected.
Note: If the correct patient is not already selected, use the Patient Search field to access the patient's record.
-
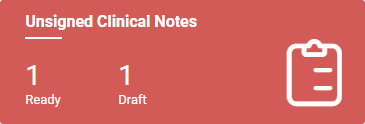
Tip: You can also access clinical notes from other areas such as the Chart tab or the Progress Notes tab.
The Clinical Note Tasks page displays.

-
(Optional) Set the Date Range to display incomplete clinical notes within a certain range.
Note: The field defaults to the last 30 days.
-
ClickTap the Date Range field and select an option.
-
If you selected Specific Date, select a date from the calendar that displays and clicktap Done.
-
If you selected Custom Range, select two dates from the calendar that displays and clicktap Done.
-
-
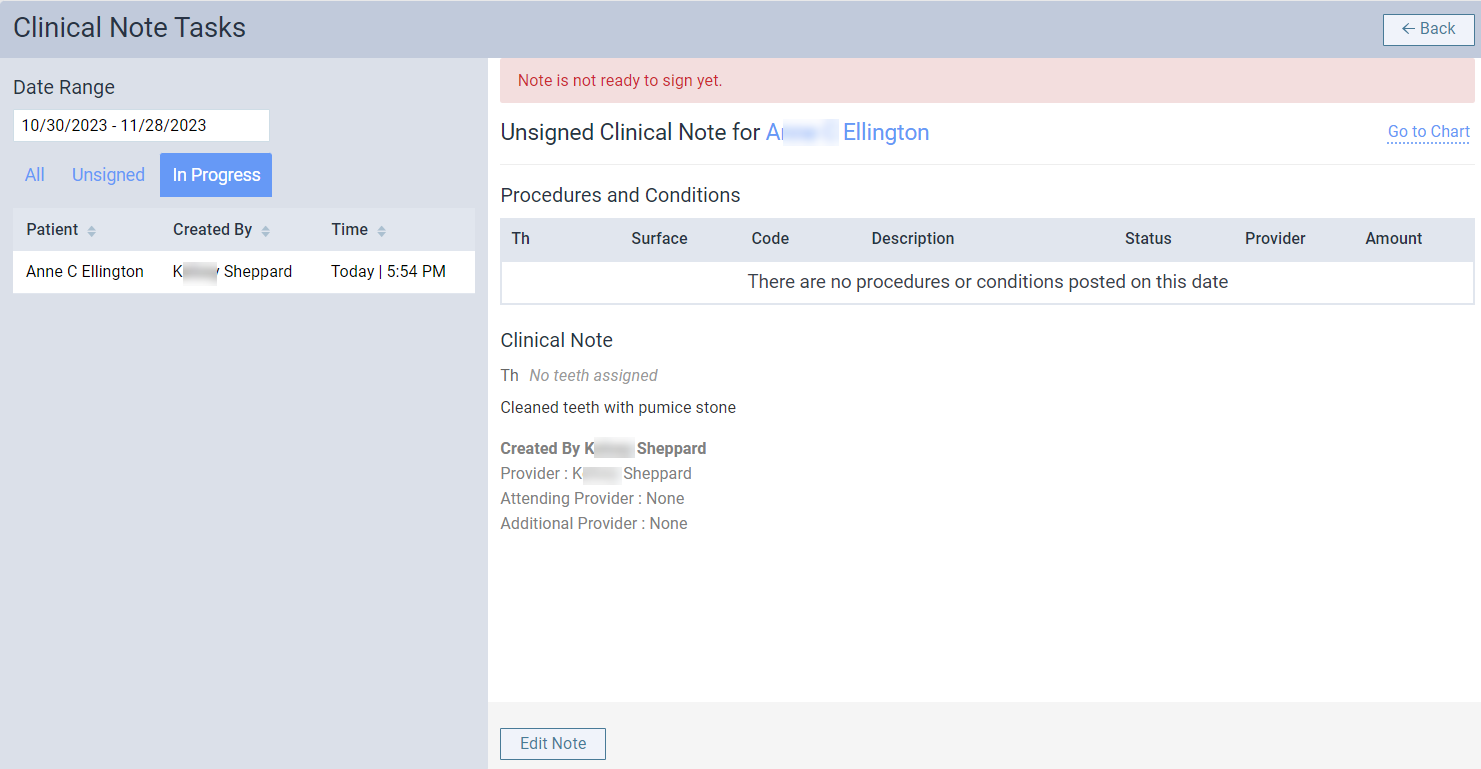
ClickTap the In Progress tab.
-
Select a listed patient.
On the right, the options for resuming the corresponding clinical note displays. Under Unsigned Clinical Note for [Patient Name], any procedures posted for the selected patient on the corresponding date display for your reference. Also, any existing text that was entered for the note displays for your reference.
-
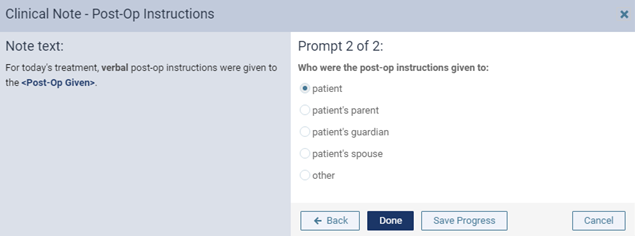
To resume the clinical note, starting from the prompt that was displayed when the progress was saved, clicktap Edit Note.
The Clinical Note window displays with the applicable prompt.
-
Complete the remaining prompts and clicktap Done.
-
From the Clinical Note window, edit the note as necessary:
-
Edit an unlocked clinical note.
-
Modify the following fields as necessary:
-
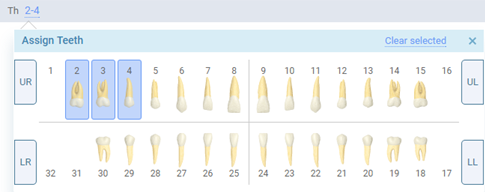
Th - Review the assigned teeth. If necessary, you can assign or remove teeth from the note by adding and/or removing the tooth numbers.
-
ClickTap the Assign teeth or the assigned tooth number(s) link.

Note: If the note does not have any assigned teeth, the Assign teeth link displays. If the note has assigned teeth, the link displays as the assigned tooth number(s), such as 2,4.
A tooltip displays.
-
To add tooth numbers, select the teeth. To remove tooth numbers, deselect the selected teeth.
-
When ready, clicktap X to close the tooltip.
-
-
Provider - Review the primary provider assigned to the note.
If you need to add a secondary provider to the note, you can clicktap the
 icon to display the Additional Provider field and enter a secondary provider.
 Tip: To remove the Additional Provider field, clicktap the
 icon.
icon. -
Attending Provider - Review the faculty provider assigned to the note.
-
Date and Appointment - Review the set date or linked appointment. If necessary, edit the fields by completing any of the following:
-
To associate with a specific date, set the Date field to the date and set the Appointment field to -.
-
To link to an appointment, set the fields to the appointment's date and time.
Note: When you link to an existing appointment, the Attending provider field automatically updates to the linked appointment's attending provider. For more information, see Linking clinical notes to appointments.
-
-
Note: Review and, if necessary, edit the note. You can also edit the note by inserting one from a template. To insert a note from a template, select a template listed under the Templates tab. If prompted, respond to enter data and then clicktap Done.
-
Ready to sign - Set the toggle to Yes to set the clinical note as ready to sign. Set the toggle to No to set the clinical note as not ready to sign.
-
ClickTap Save.
-
-
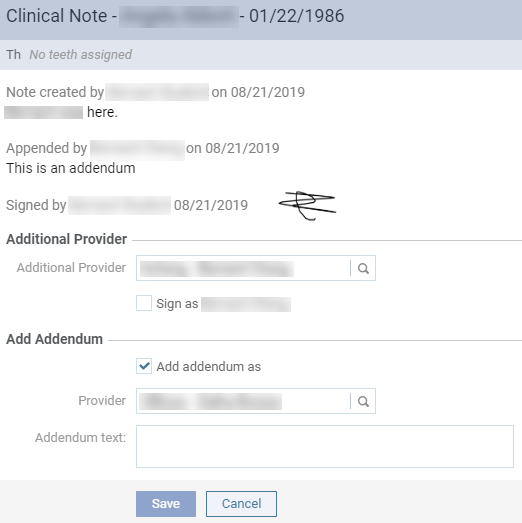
Edit a locked clinical note by adding an addendum.
Note: The clinical note is locked if you are set as the additional provider, and the attending provider or the provider already signed the note.
-
Select the Add addendum as check box.
The options for adding an addendum become available.
-
Enter a provider in the Provider field.
-
Enter any relevant note(s) in the Addendum text field.
Important: Once saved, the addendum cannot be edited.
-
ClickTap Save.
-
-
-
Select the Sign as [user name] check box and enter your password in the generated field.
Tip: If the check box is not available, open the note and ensure the Ready to sign toggle is set to Yes.
-
ClickTap Sign Note.
-
(Optional) Repeat Steps 4-9 to resume and sign other clinical notes, as necessary.
Tip: If necessary, you can clicktap the patient's name or the Go to Chart link to open and quickly review their Chart page in a new browser tab.
Comments
0 comments
Please sign in to leave a comment.