
You can edit any of the custom quick-picks for any of your location's clinical note templates or organization's shareable set of clinical notes templates as needed.
Note: You cannot edit quick-picks that are provided by default in Ascend Academic.
Important: Changing a quick-pick does not affect clinical notes that have already been entered using that quick-pick.
To edit a quick-pick
How to get there
-
(Optional) If you want to edit a quick-pick for location-specific templates, you can select it from the Location menu.
-
From the Settings menu, under Patient Care, select Clinical Note Templates.
The Clinical Note Template Setup page opens.
-
On the Clinical Note Template Setup page, complete one of the following:
-
To edit a quick-pick for location-specific templates, leave the Current Set tab selected.
-
To edit a quick-pick for shareable templates, clicktap the Shareable Set tab.
-
-
Complete one of the following:
-
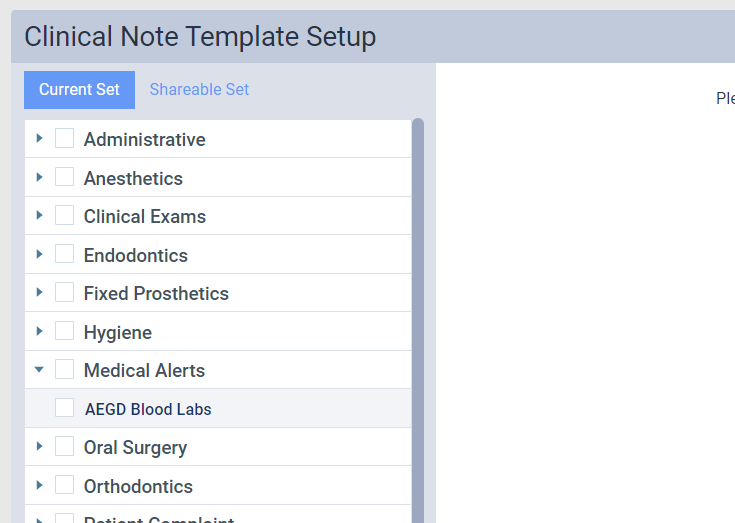
ClickTap a category's bar to view the corresponding templates, and then select a template.
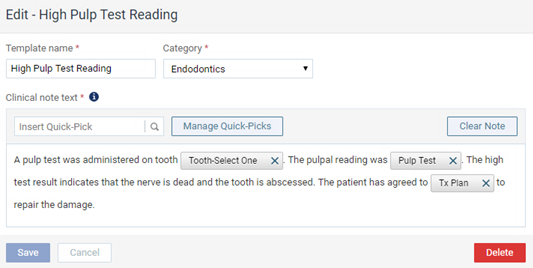
The options for editing the clinical note template display.
-
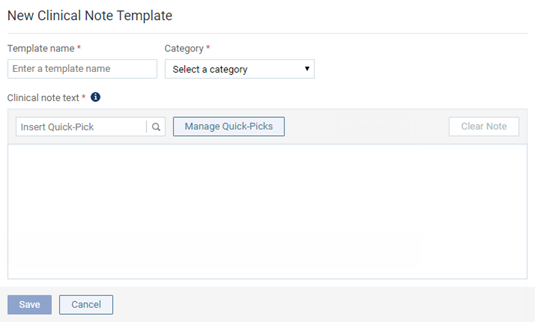
ClickTap New Template to create a new template in addition to editing a quick-pick.

The options for entering a new clinical note template display.
-
-
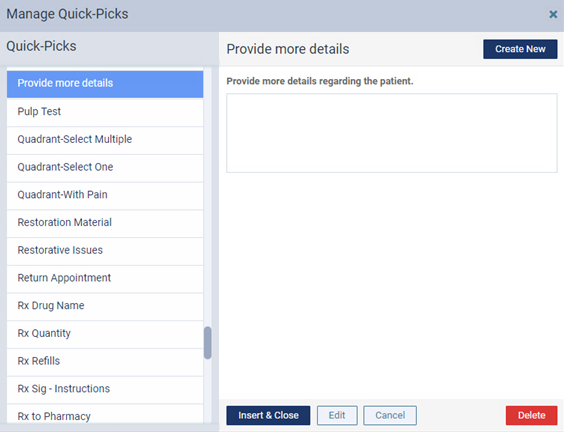
ClickTap Manage Quick-Picks to display the Manage Quick-Picks window.

-
Select the quick-pick that you want to edit and clicktapEdit.
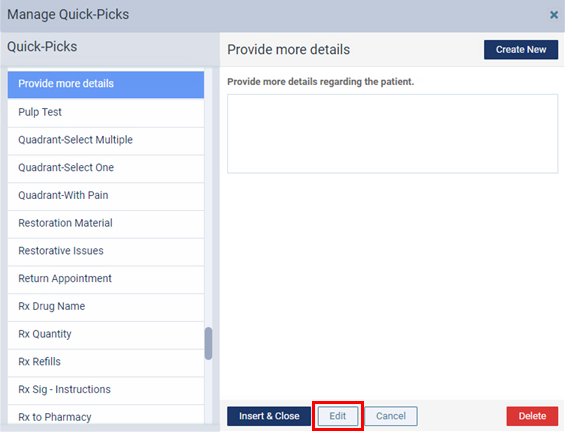
The options for editing the quick-pick become available.
-
Complete the steps to edit the quick-pick.
-
On the Give It a Name tab, enter a name and the question or statement for the quick-pick.

-
ClickTap Next or the Select Type tab.
-
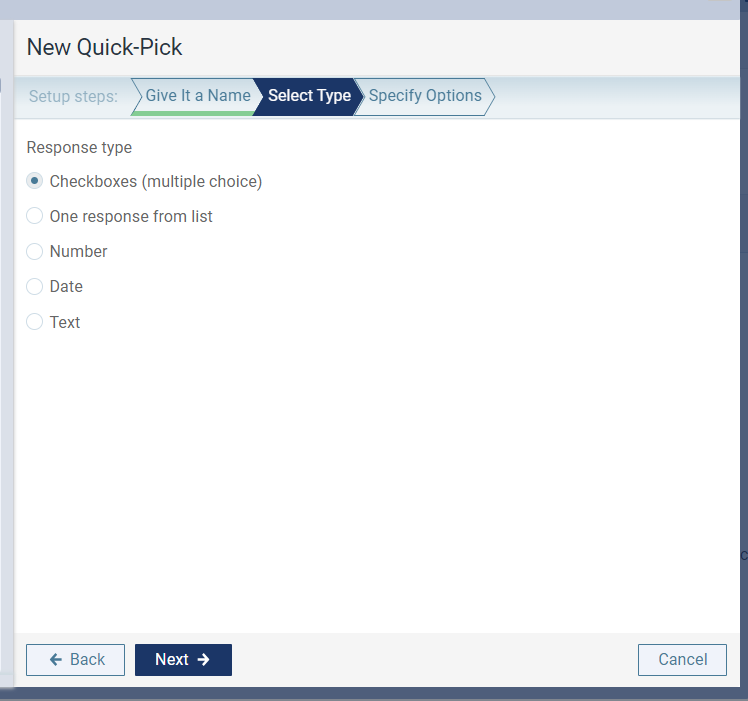
On the Select Type tab, select a response type for the quick-pick.
-
ClickTap Next or the Specify Options tab.
-
On the Specify Options tab, edit the options that correspond to the selected response type.
-
Checkboxes - Edit the text of a possible answer for the question. When the quick-pick is used to enter a clinical note, the specified text displays next to a checkbox that the user can select/deselect. For any other answers that you want to add, clicktap Add Another Response and enter the text. To remove an answer, clicktap the corresponding Remove
 icon. To move an answer up or down in the list, clicktap the corresponding Move Up
  icon or Move Down
  icon.
icon.
-
One response from list - To change a possible answer for the question, edit the corresponding text. When the quick-pick is used to enter a clinical note, the specified text displays as an option that the user can select. For any other answers that you want to add, clicktap Add Another Response and enter the text. To remove an answer, clicktap the corresponding Remove
icon. To move an answer up or down in the list, clicktap the corresponding Move Up icon or Move Down icon.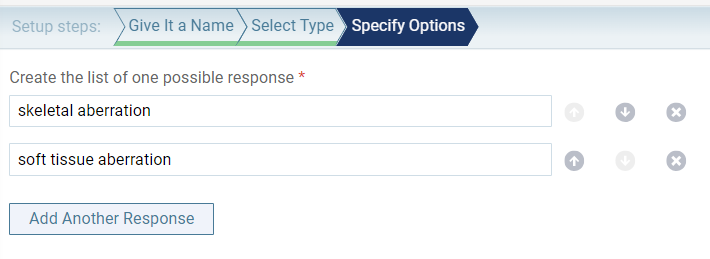
-
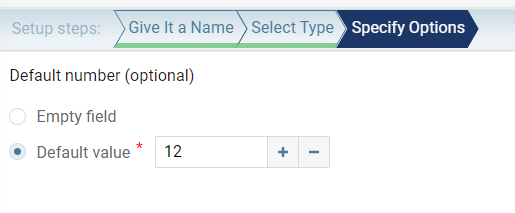
Number - Select the Empty field radio button to not have a default value display when the quick-pick is used to enter a clinical note or select the Default value radio button and enter a value to have that value display by default.
Notes:
-
The field accepts only zero and positive whole numbers not decimal points or negative signs
-
The person entering the clinical note can change the number.
-
-
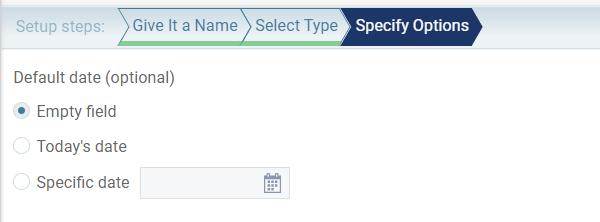
Date - Select the Empty field radio button to not have a default date display when the quick-pick is used to enter a clinical note, select the Today's date radio button to have the date you enter the note display by default, or select the Specific date radio button and enter the correct date in the box in a mmddyyyy, mm/dd/yyyy, or mm/dd/yy format, or select the correct date from a calendar to have the date you specify display.
Note: The person entering the clinical note can change the date.
-
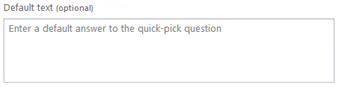
Text - Edit the answer that you want to have display by default when the quick-pick is used to enter a clinical note.
Note: The person entering the clinical note can change the text.
-
-
ClickTap Done.
The quick-pick is selected in the Quick-Picks list.
-
-
ClickTap Insert & Close to insert the selected quick-pick into the clinical note template or Cancel to close the dialog box without inserting the quick-pick.
Comments
0 comments
Please sign in to leave a comment.