
You can create multiple user accounts by importing their data from a file to provide users a secure access to your organization's database. Everyone that uses Ascend Academic should have their own user account.
Note: User accounts (and the corresponding provider settings, if applicable) are set at the organization level, but users can access information according to their assigned security roles and locations.
Tip: You can create a single user account without importing their data from a file.
To import multiple users from file
How to get there
-
From the Settings menu, under Location, clicktap User Accounts.
The User Accounts page displays.
-
On the User Accounts page, clicktap the New User drop-down menu and select Import Users from File.

The Import Users from File window displays.

-
Complete one of the following to upload a CSV file:
-
Upload an existing file.
-
ClickTap and drag the CSV file from your desktop and drop it on the window or locate and select using the Browse button.
-
-
Download a template, enter the data, and then upload the template.
To confirm the file contains all the necessary information in the correct format, you can use a template provided by the system.
-
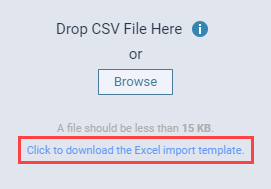
ClickTap the Click to download the Excel import template link to download the template.
-
Locate the downloaded file and enter the users' information:
-
First Name - Enter a user's first name.
-
Last Name - Enter a user's last name.
-
Username - Enter a user's username.
-
Email - Enter the address of a user's email that will be used to receive emails from the system.
-
Phone Number - Enter a user's 10-digit phone number without any dashes, brackets, or spaces.
-
Provider (YES/NO) - If a user is a provider, enter Yes. If they are not a provider, enter No.
-
Shortname - Enter a user's shortname, which can only be maximum 6 characters.
-
Address, City, State, ZIP Code - Enter a user's address.
Note: You can only enter maximum 50 characters under Address, state abbreviations that are used in Ascend Academic under State, and zip code can only be 9 digits without spaces.
-
NPI - Enter a user's NPI number.
-
DEA - Enter a user's DEA as 2 characters followed by 7 numbers.
-
-
When ready, clicktap and drag the file and drop it on the Import Users from Filewindow or locate and select it by using the Browse button.
-
The window moves to the Roles and Locations step.
Note: If the window does not automatically move to the next step, the file was not uploaded successfully.
-
-
Select the users' user role from the Select Role drop-down list.
-
Select the location the users will work at from the Select Location drop-down list.
-
(Optional) To provide access to multiple locations, clicktap Add New Role and repeat Steps 3-4 on the generated fields. Repeat as necessary.
Important: Users can only have one user role per location. They cannot have multiple user roles at a single location.
-
(Optional) To set the providers' working hours based on their location's working hours, select the location from the Select Location drop-down list.

-
Select how long the system can be inactive before the users are logged out automatically from the Set Inactivity Timeout to drop-down list.

The recommended length is 10 Minutes, but there are also options for 30 Minutes, 1 Hour, 2 Hours, 4 Hours, 8 Hours, and 12 Hours.
Note: This is a mandatory field. You cannot proceed without setting this field.
-
When ready, select Next -> to move to the Review Users to be imported step.
Note: If you did not set the users' working hours, the Empty Working Hours window display. ClickTap Continue to move to the next step.
-
Review the users and their user account settings before import.
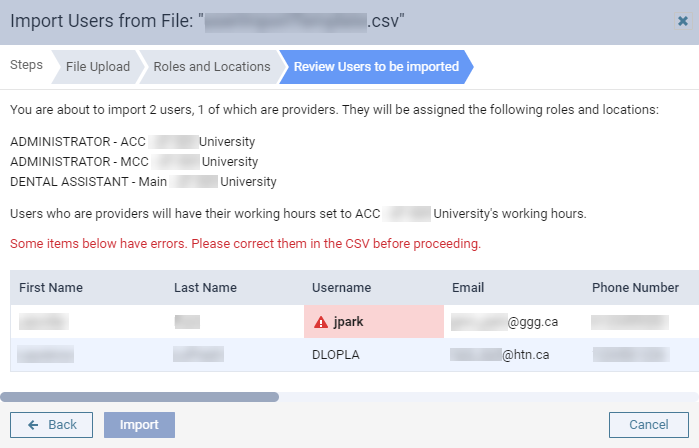
The window displays the following:
-
The total number of imported users with total number of those that are providers
-
List of their user role(s) at their location(s)
-
If any, which location's working hours will be set for the providers
-
List of user accounts based on the file's data
If there are any errors in the data, the Import button is disabled, a warning message displays above the list of user accounts, and the list's data with the error is highlighted in red. A data is identified as an error if it doesn't meet the requirements from Step 2. To fix the error, you need to manually fix it in the original file and upload the file again.
Note: If unsure of the reason of the error, you can clicktap the error icon of a highlighted field to view the reason of the error.

-
-
When ready, clicktap Import.
If uploaded successfully, the
 displays, and the system will send emails to the users, requesting them to reset their password..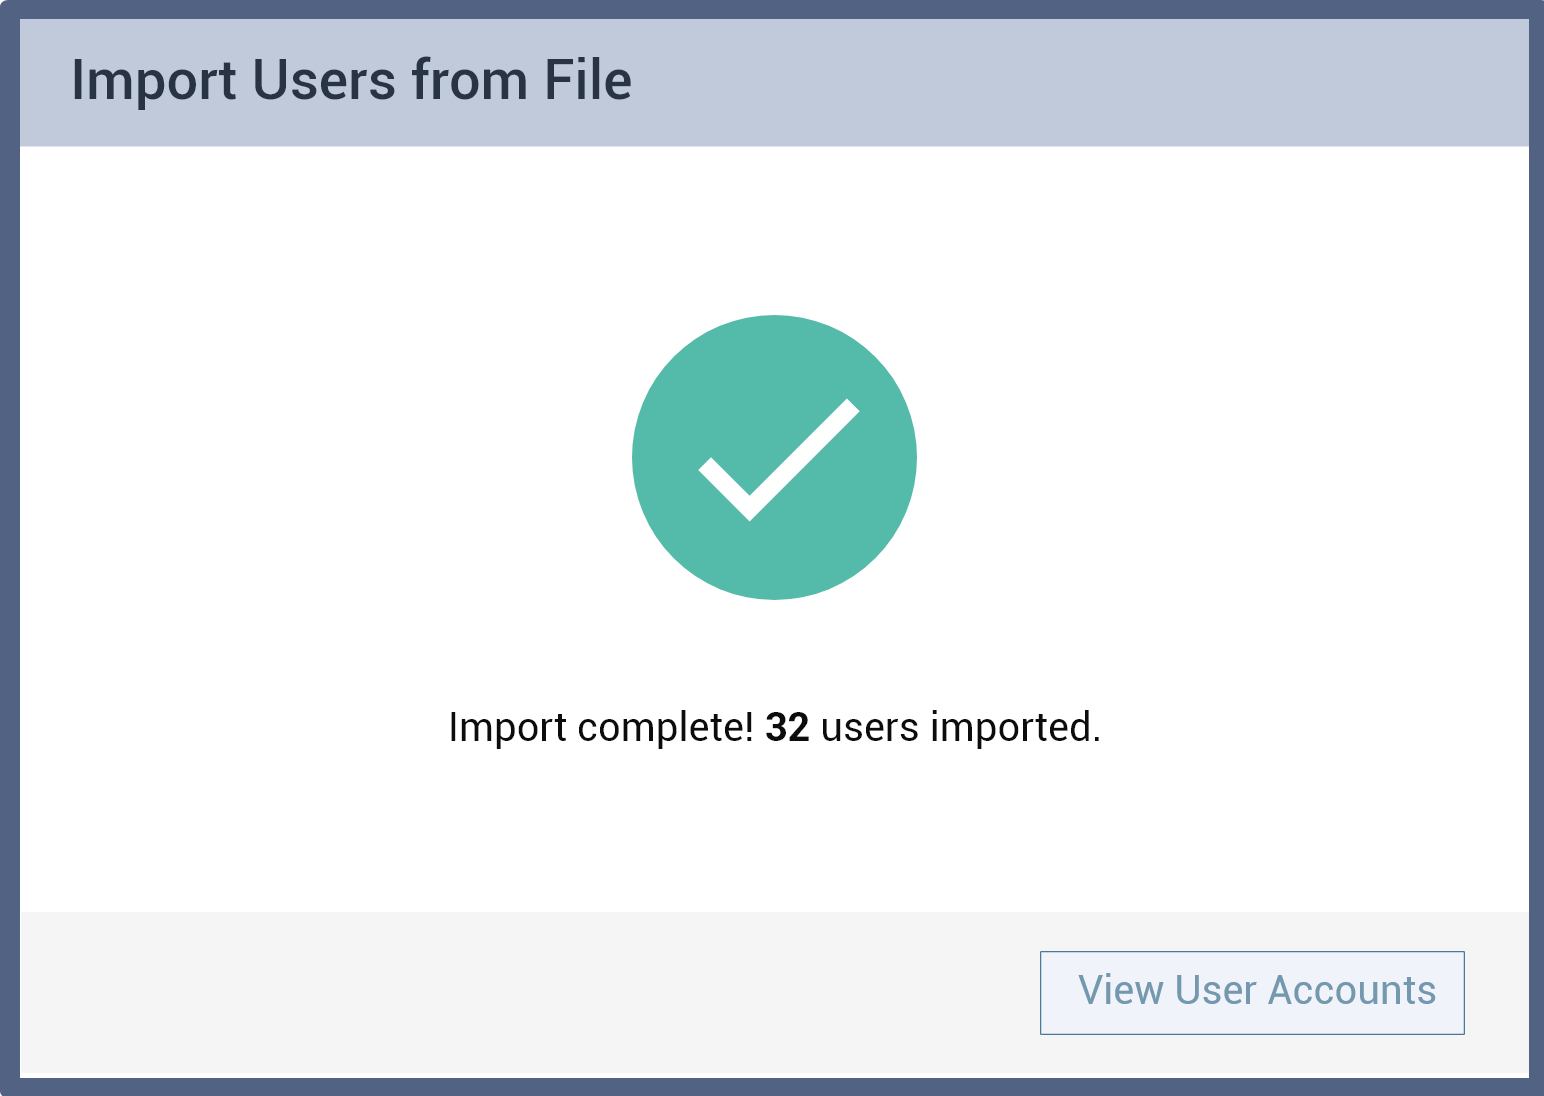
Important:
-
If the import failed, the
 displays.
 -
Attempts to import, failed imports, and successful imports are audited in the audit log.
-
Emails are sent to the email addresses from the imported data. The emails also include information on any changes that were made to their account.
-
Comments
0 comments
Please sign in to leave a comment.