
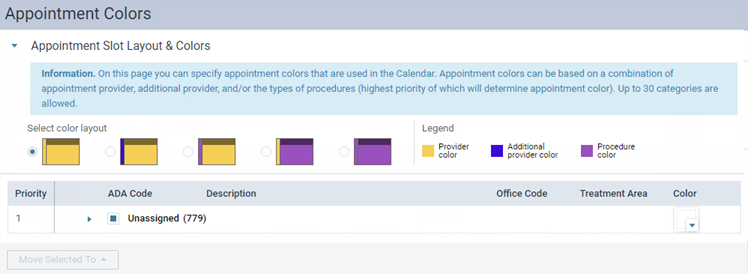
You can customize how Ascend Academic displays appointments on the Calendar page. You can assign colors to procedure types to quickly identify appointments by appointment type. You can also customize the layout of appointment tiles to display provider colors only, procedure colors only, or both. Each location can have different appointment color and layout settings.
Tip: Any changes made are saved automatically.
Note: To customize a location's appointment colors and layout, you must have the Review Location Information security right.
To customize appointment colors and layout
-
If you are not already viewing the correct location, select it from the Location menu.
-
On the Settings menu, under Location, clicktap Appointment Colors to display the Appointment Colors page.
-
Complete any of the following as necessary:
-
Change the layout
-
Under Select color layout, select a radio button to specify the main color of appointments and the color of the vertical bar on the left side of appointments.
-
-
Add a procedure category
-
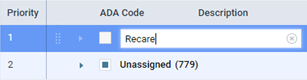
ClickTap New Category to insert a new category at the top of the category list.

-
In the box, enter a name for the category and press Enter (or clicktap elsewhere on the page).
Note: The name must be unique to the current location.
-
-
Change the color of a category
-
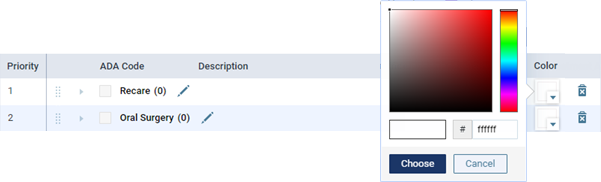
ClickTap a category's Color button and select a color or enter the hexadecimal code of a color.
Example: ffffff for white.
-
ClickTap Choose.
-
-
Assign procedures to a category
-
In the Search for procedure field, enter an ADA code, a multi-code, or a procedure description and select the check boxes for each procedure you want to assign to the category.
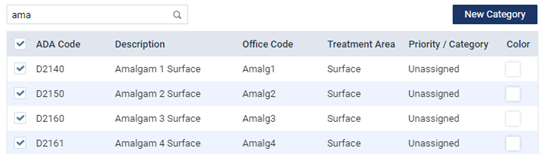
Tip: You can also expand an existing category, including the default Unassigned category, to locate and select the procedures that you want to move to a different category.
-
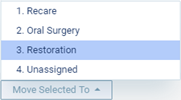
With one or more procedures selected, clicktap the Move Selected To button and select a category.
-
-
Change the name of a category
-
Next to a listed category, clicktap the Edit
 icon.
icon.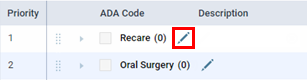
-
In the text box, modify the name and press Enter (or clicktap elsewhere on the page).
Note: The name must be unique to the current location.
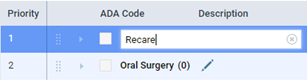
Note: You cannot change the name of the Unassigned category.
-
-
Delete a category
-
Next to a listed category, clicktap the Delete
 icon.
icon. -
When prompted, clicktap Delete. If the category contains any procedures, those procedures are moved to the Unassigned category.

Note: You cannot delete the Unassigned category.
-
-
Change the priority of a category
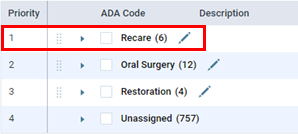
You can rearrange the order of your categories to change their priority. If an appointment has procedures in multiple categories, the color of the appointment is determined by the category with the highest priority (the lowest Priority number) if your layout uses a Procedure color. To move a category, complete the following:
-
ClickTap and hold the handle of the category that you want to change the priority of.
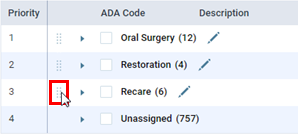
-
Drag the category up or down to the location where you want to move the category.
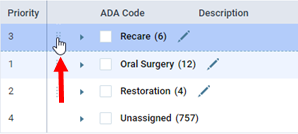
The category is now the desired priority, and the Priority numbers are updated automatically as applicable.
Note: You cannot change the priority of the Unassigned category. It always has the lowest priority (the largest Priority number).
-
-
Comments
0 comments
Please sign in to leave a comment.