
When necessary, you can retake the image in an exam with a single image or you can retake one or more of the images in an exam with a series of images.
To retake images
How to get to there
-
From the Patient menu, under Clinical, select Imaging.
The patient record displays with the Imaging tab selected.
Tip: You can also access imaging from other clinical areas such as Chart, Progress Notes, Quick Exam, Perio, or Tx Planner.
Note: If the correct patient is not already selected, use the Patient Search field to access the patient's record.
-
On the patient's record > Imaging tab, clicktap the Imaging tab menu and select Show Image History.

The patient's imaging page opens to the history view, and the most recent image or series (such as a full mouth series or bitewings) is selected by default on the Images tab.

-
Complete one of the following:
-
Retake the image in an exam with a single image
-
Select an exam with a single image.
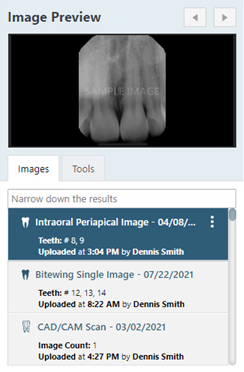
The image displays in the viewing area.
-
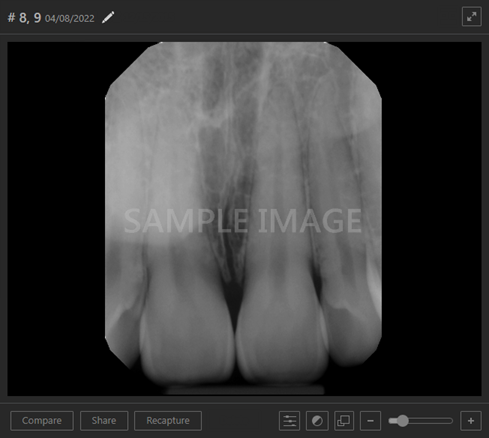
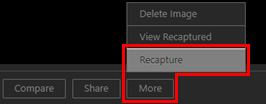
ClickTap Recapture or clicktap the More menu and select Recapture.
-
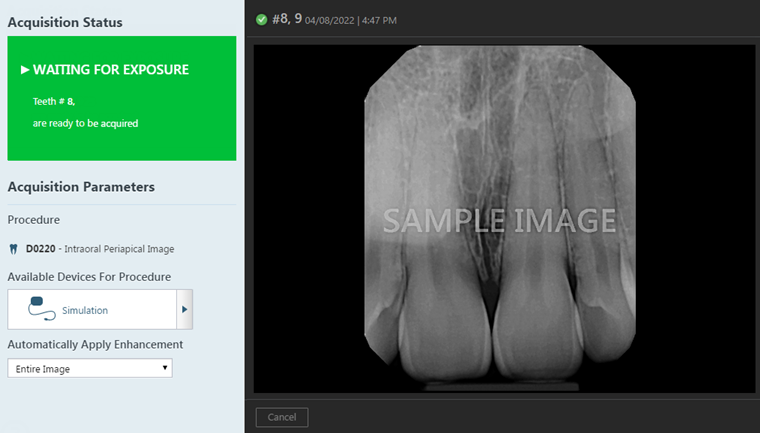
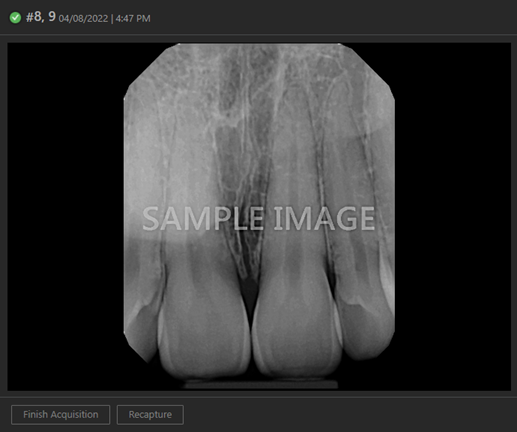
When the X-ray sensor becomes ready for exposure, acquire the image.
The Select Image window displays. The recaptured image displays on the left under New Image. The existing image displays on the right under Old Image.

-
(Optional) If necessary, select the Delete rejected image checkbox.
-
ClickTap Keep New to keep the recaptured image and put it on top of the image stack for the template slot or clicktap Keep Old to keep the existing image and leave it on top of the image stack for the template slot.
The original or recaptured image displays in the viewing area.
-
(Optional) To retake the image again, clicktap Recapture and repeat Steps c-e.
-
ClickTap Finish Acquisition.
-
-
Retake one or more images in an exam with a series of images
-
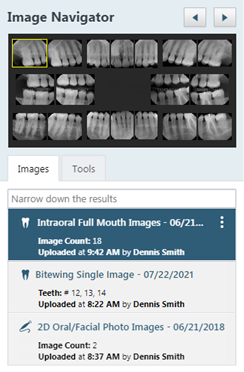
Select an exam with a series of images (such as a full mouth series or bitewings).
-
Under Image Navigator, clicktap the image that you want to retake.
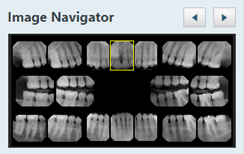
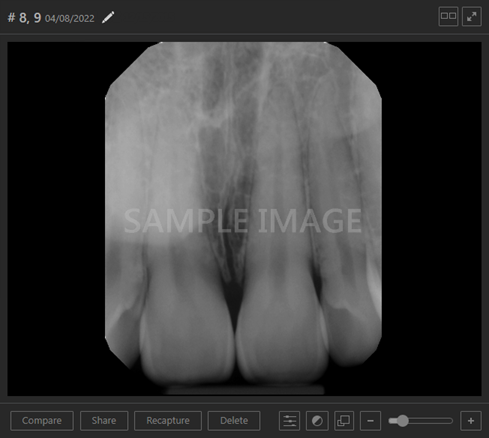
The selected image displays in the viewing area.
-
ClickTap Recapture or clicktap the More menu and select Recapture.
-
When the X-ray sensor becomes ready for exposure, acquire the image.
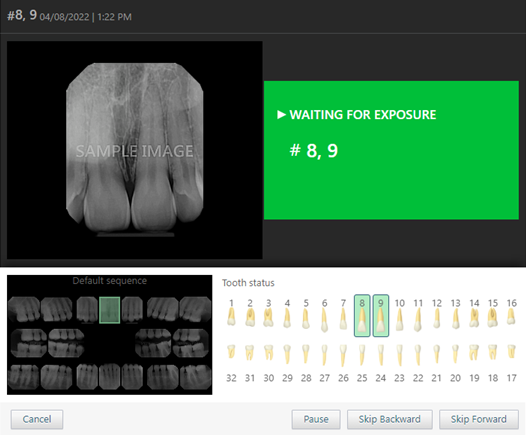
Note: The applicable step in the acquisition sequence for the template is selected automatically.
The Select Image window displays. The recaptured image displays on the left under New Image. The existing image displays on the right under Old Image.
-
(Optional) If necessary, select the Delete rejected image checkbox.
-
ClickTap Keep New to keep the recaptured image and put it on top of the image stack for the template slot or clicktap Keep Old to keep the existing image and leave it on top of the image stack for the template slot.
The original or recaptured image displays in the viewing area.
-
(Optional) To retake the image again, clicktap Recapture and repeat Steps d-f.
-
(Optional) To retake other images in the series, complete the following:
-
ClickTap Skip Backward or Skip Forward.
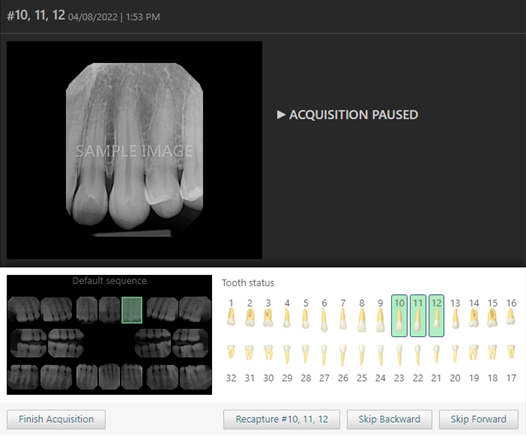
The options for acquiring images in the series display, and the acquisition is paused automatically.
-
Complete one of the following:
-
If the correct step in the acquisition sequence for the template is selected, clicktap Recapture.
-
ClickTap the correct step in the acquisition sequence for the template.
-
ClickTap Skip Backward or Skip Forward as necessary to navigate to the correct step in the acquisition sequence for the template, and clicktap Recapture.
-
-
When the X-ray sensor becomes ready for exposure, acquire the image.
The Select Image window displays.
-
(Optional) If necessary, select the Delete rejected image checkbox.
-
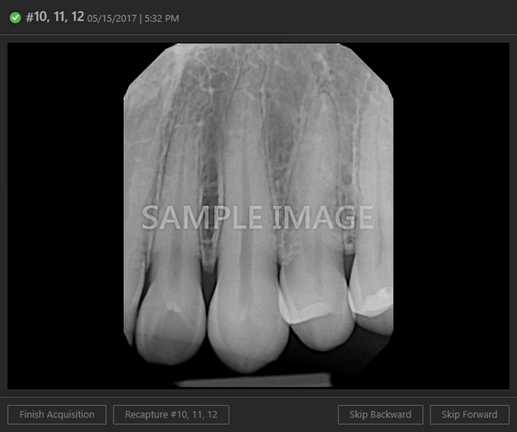
ClickTap Keep New to keep the recaptured image and put it on top of the image stack for the template slot or clicktap Keep Old to keep the existing image and leave it on top of the image stack for the template slot.
The original or recaptured image displays in the viewing area.
-
To retake the image again, clicktap Recapture and repeat Steps i-v.
-
Repeat Steps i-vi as necessary to retake other images in the series.
-
-
ClickTap Finish Acquisition.
Notes:
-
If the acquisition is paused (manually or automatically) on a step with an image, the Pause button changes to the Recapture button.
-
If the acquisition device is ready to acquire an image, the images for all steps have been captured, or the acquisition is paused, the Cancel button changes to the Finish Acquisition button.
-
-
-
If one or more images fail to upload, a message displays and provides the option for you to recover the image.
If prompted with a Request Retake Limit Override Approval window during the process, you have reached the radiation exposure limit set by your institution and must request and receive override approval to continue.
Comments
0 comments
Please sign in to leave a comment.