
With DICOM support, you can export a 3D volume by downloading it as a file or sending it to a third-party application.
To export a 3D volume
How to get to there
-
From the Patient menu, under Clinical, select Imaging.
The patient record displays with the Imaging tab selected.
Tip: You can also access imaging from other clinical areas such as Chart, Progress Notes, Quick Exam, Perio, or Tx Planner.
Note: If the correct patient is not already selected, use the Patient Search field to access the patient's record.
-
On the patient's record > Imaging tab, complete one of the following:
-
View a 3D volume from the patient's image history list.
-
From the Imaging tab's menu, select Show Image History.

-
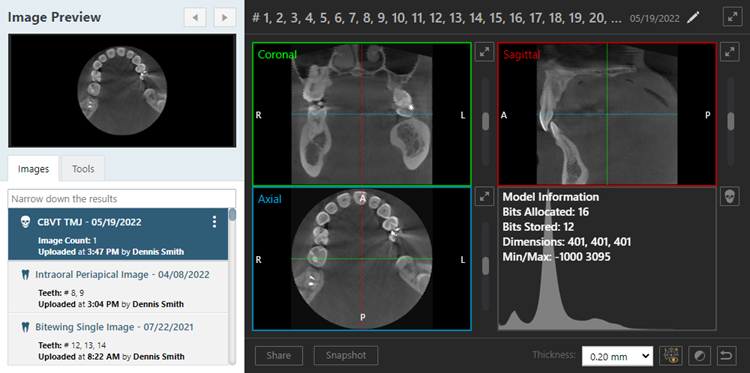
On the Images tab, select an acquired 3D volume.
-
-
View one of the patient's most recent 3D volumes.
-
From the Imaging tab's menu, select Show Most Recent Images.

-
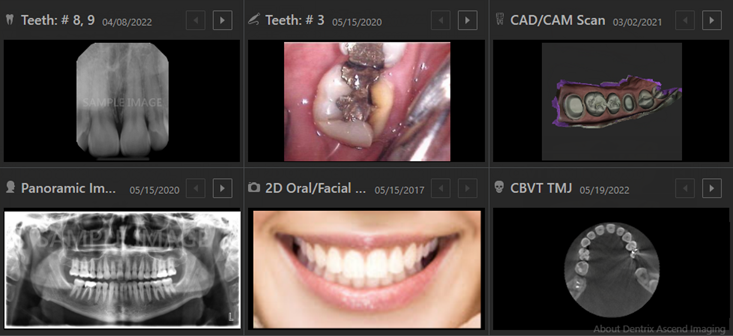
ClickTap an acquired 3D volume.
-
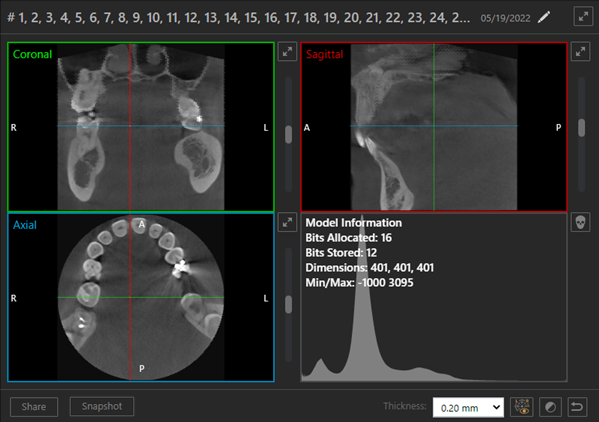
The selected 3D volume displays in the viewing area.
-
-
Complete one of the following:
-
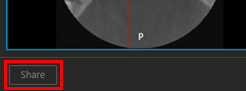
ClickTap Share.
-
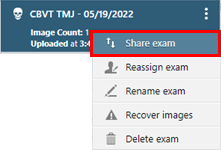
From the options menu of the 3D imaging acquisition, select Share exam.
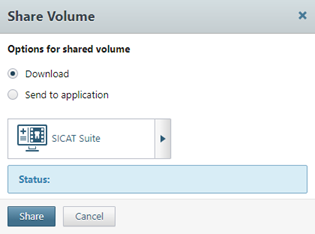
The Share Volume window displays.
-
-
Complete one of the following:
-
To download the 3D volume as one .dcm file, select the Download option.
-
To send the 3D volume to a third-party application, select the Send to application option. Then, select the correct application in the Available Devices menu if it is not already selected.
Note: Currently, the only supported third-party applications are SICAT Suite, BlueSky Bio, Anatomage Invivo, QuickVision 3D, and Nemotec.

-
-
ClickTap Share.
The 3D volume is downloaded or sent to the selected application.
Comments
0 comments
Please sign in to leave a comment.