
You can compare two images side by side.
To compare images
How to get there
-
From the Patient menu, under Clinical, select Imaging.
The patient record displays with the Imaging tab selected.
Tip: You can also access imaging from other clinical areas such as Chart, Progress Notes, Quick Exam, Perio, or Tx Planner.
Note: If the correct patient is not already selected, use the Patient Search field to access the patient's record.
-
On the patient's record > Imaging tab, complete one of the following:
-
View an image from the patient's image history list.
-
From the Imaging tab's menu, select Show Image History.

-
On the Images tab, select an image or series.
Examples: A full mouth series or bitewings.

-
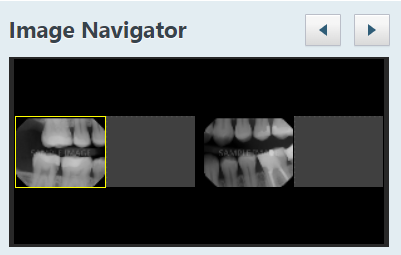
If you selected a series, under Image Navigator, clicktap an image in that series.
-
-
View one of the patient's most recent images.
-
From the Imaging tab's menu, select Show Most Recent Images.

-
ClickTap any single image (intraoral X-ray, intraoral photo, extraoral photo, or extraoral X-ray) or an image within a series (such as a full mouth series or bitewings).

-
-
-
If the currently viewed template slot has multiple images assigned, you can clicktap the Previous or Next button
 at the top of the viewing area as needed to view another image in the stack for the comparison.
Notes:
-
The Previous button is not available when viewing the top image or if there is only one image.
-
The Next button is not available when viewing the bottom image or if there is only one image.
-
Any images with tooth numbers in common with the selected image display on the Images for tooth range panel.
-
-
ClickTap Compare.
Any images with tooth numbers in common with the selected image display on the Images for tooth range panel.
Note: The selected image displays as Original for identification purposes.

-
(Optional) If needed, filter the Images for tooth range panel to display only the images that match your filter criteria.
-
ClickTap the Edit
 icon to view the available filters.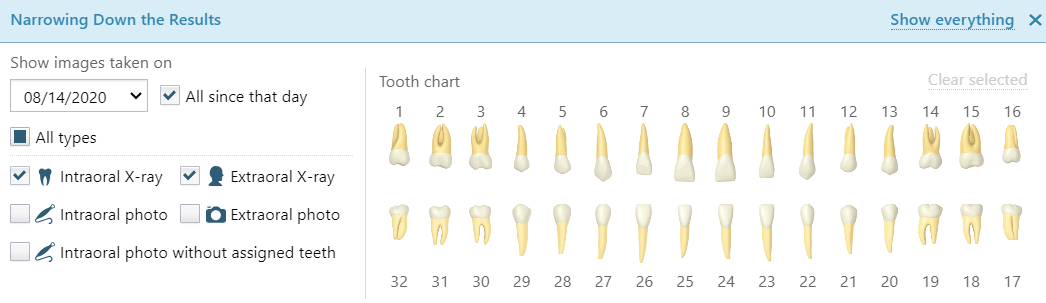
-
Set any of the following filters:
-
Date - To view the images according to a different date, select a date in the list under Show images taken on. To view all images that have been acquired on and after the selected date, select the All since that day checkbox. To view the images that were acquired only on the selected date, deselect the All since that day checkbox.
-
Type -To view images in any category (intraoral X-rays, intraoral photos, intraoral photos without tooth numbers assigned, extraoral X-rays, extraoral photos, CAD/CAM/iOS scans, and 3D volumes), select the All types checkbox. To view images in only certain categories, ensure those checkboxes are selected and other checkboxes are cleared.
-
Teeth - If the Intraoral X-ray and/or Intraoral photo checkboxes are selected, to view those types of images for specific teeth, select the correct teeth on the Tooth Chart. The tooth filter does not apply to intraoral photos that do not have tooth numbers assigned to them and extraoral X-rays (which apply to all teeth), and extraoral photos (which apply to all teeth). To deselect all tooth selections, clicktap Clear selected.
-
Show everything - To set the filter options to their default states and display all the patient's images, clicktap Show everything.
-
-
ClickTap the X or anywhere outside of the Narrowing Down the Results window to close the window.
-
-
Select a different image to compare with the original as necessary.
Note: The first image on the Images for tooth range panel is selected by default.
-
To modify how an image is viewed, clicktap the Original or Compared image, and complete any of the following for the selected image:
-
Use the (yellow or blue) Brightness/Contrast button to change the brightness and/or contrast.
-
Use the (yellow or blue) Zoom slider to zoom in and out.
-
While zoomed in on an image, drag the blue square (on the comparison image on the Images for tooth range panel) or the yellow square (on the image under Image Navigator) to pan to another part of the image.
-
-
Linking the images being compared allows the zooming and panning of one image to be synchronized with the other. To link images, complete the following:
-
ClickTap the Original or Compared image (zoomed and panned or not).

-
ClickTap the (yellow or blue) Link button
 .
.The images are linked.

Note: If you alter the zoom or pan of an image before linking it to the other, when you link them, the zoom factor and the position of the pan box (red box) of the other image is synchronized to be the same as the first.
Now, as you zoom in and out and pan, both images are affected.

Tip: To unlink the images, clicktap the Link
 icon.
icon. -
-
ClickTap Finish Comparison.
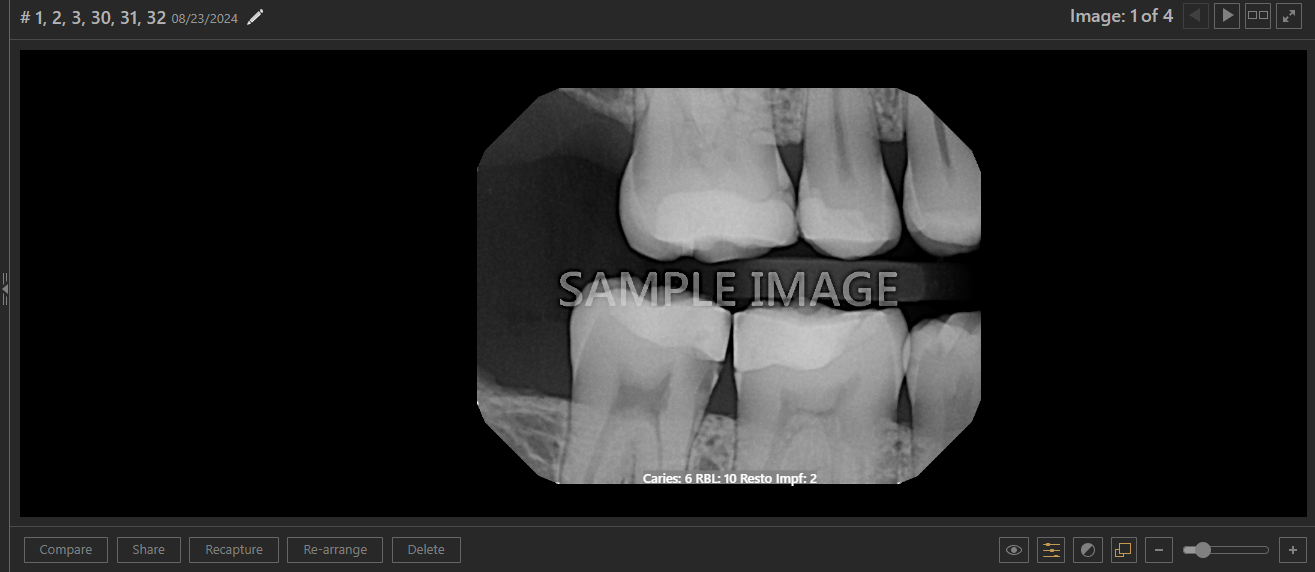
The selected image displays in the viewing area.
Comments
0 comments
Please sign in to leave a comment.