
You can edit or delete a credit adjustment that has been posted to a patient's ledger.
To edit a credit adjustment
How to get there
-
From the Patient menu, under Financial, select Ledger.
The patient's Ledger page displays.
Tip: You can also access the Ledger page from the patient's Overview page > Ledger widget.
Note: If the correct patient is not already selected, use the Patient Search field to access the patient's record.
-
On a patient's Ledger page, clicktap a credit adjustment.

The Edit Credit (-) Adjustment window displays.

-
Modify the adjustment details as necessary.
-
Date - The date of service. Leave the current date entered, or clicktap the field to select a different date. However, you cannot select a date that would cause it to become locked based on your organization's transaction lock setting.
-
Type - The adjustment type, such as Credit Adjustment or Professional Courtesy.
-
Amount - The amount of the adjustment.
-
Apply to charges for - The adjustment is to be applied toward charges on the current patient's account or the account of another member of their household (including the guarantor). If you select [Guarantor], you can apply the adjustment to charges for any or all household members.
-
Applied - For each procedure listed, the amount of the adjustment being applied toward that procedure.

-
Tags - Add tags to the adjustment as needed.
-
Notes - Enter any relevant information regarding the adjustment.
-
-
If a Reason for Revision tab displays, clicktap the tab and enter the reason for the change.
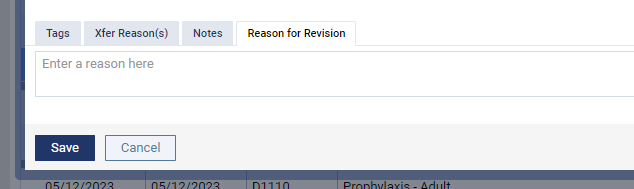
Note: A reason is only required if a certain ledger option is enabled.
-
If you changed the adjustment Amount or any of the Applied amounts, add reasons for the transfer of responsibility as needed.
-
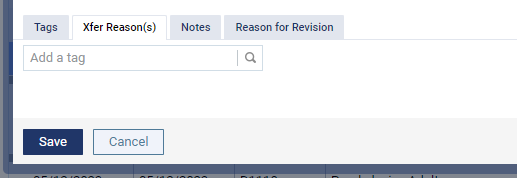
ClickTap the Xfer Reason(s) tab.
-
In the Add a tag search box, enter the name of a reason to narrow the results list.
-
Complete one of the following:
-
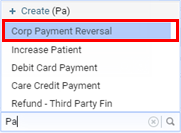
If the correct reason is listed, clicktap the reason to attach to the adjustment.
-
If the correct reason does not exist, finish entering the name of the reason, capitalized as necessary (spaces are allowed), and clicktap + Create [reason name] to create the reason and attach to the adjustment.
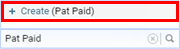
Note: The reason that you have created is now available to all Ascend Academic users in your organization.
-
-
-
When ready, clicktap Save.
Note: To save the adjustment after you add reasons for a transfer of responsibility, you must have the Edit responsibility transfer reason security right enabled.
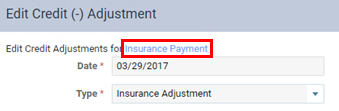
Note: If the adjustment is associated with an insurance payment, clicktap the Insurance Payment link located on the upper-left corner of the window to edit the adjustment. Ignore the following steps.
Comments
0 comments
Please sign in to leave a comment.