
You can setup an insurance plan's predetermination configuration to identify specific procedure(s) as requiring predetermination on patients' treatment planner. Once set, procedure(s) set as requiring predetermination will display on treatment planner with a  icon for patients that have the insurance plan set as their primary/secondary insurance plan.
Note: The icon only act as a visual indicator, and predetermination configuration doesn't restrict users' ability to create and submit a predetermination claim to procedure(s) set at requiring predetermination. Users can create and submit a predetermination claim on all procedures regardless of their predetermination requirement status.
To setup an insurance plan's predetermination configuration
How to get there
-
From the Home menu, under Insurance, clicktap Carriers.
The Insurance Carriers page displays.
-
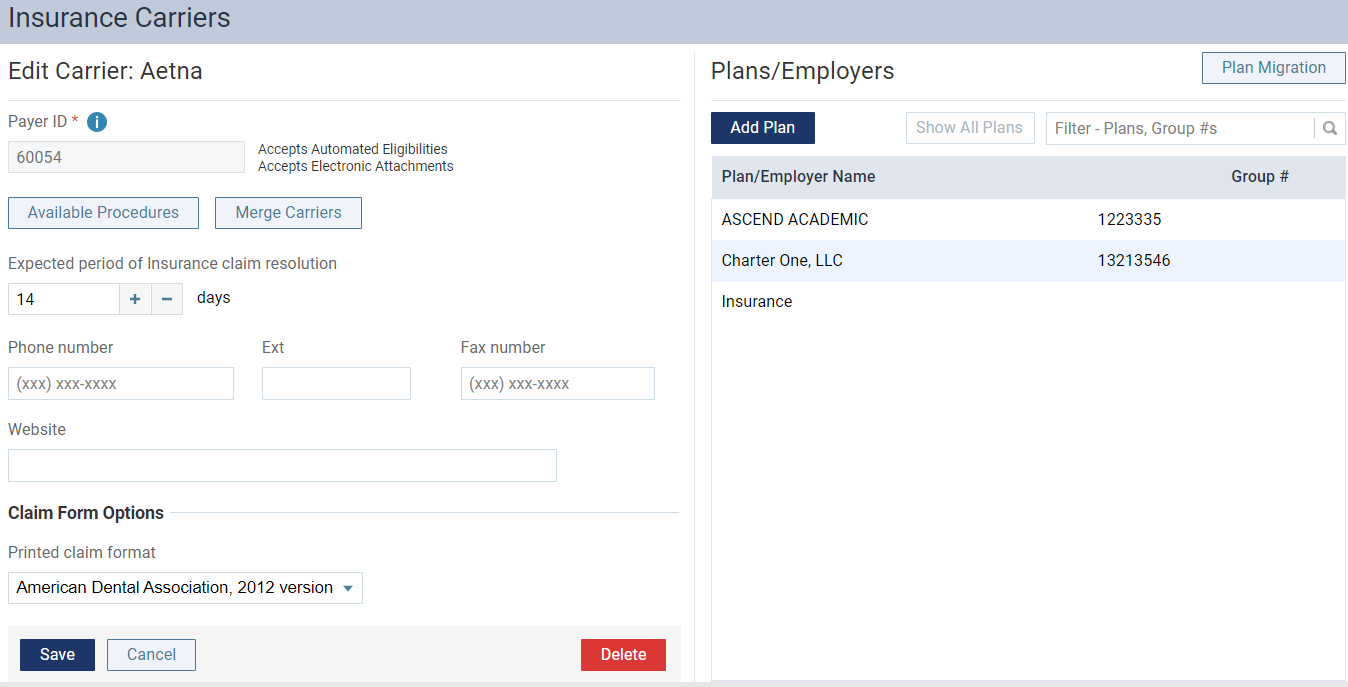
On the Insurance Carriers page, select an insurance carrier.
Tip: To help locate an insurance carrier quickly, enter part of a carrier's name, plan/employer, or group number in the search field.

The options to edit the insurance carrier displays.
-
Under Plans/Employers, select an insurance plan.
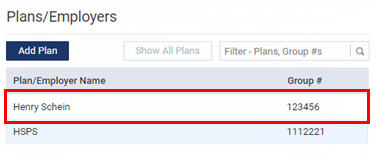
Tip: To help locate a plan quickly, enter part of the plan/employer name or group number in the search field.
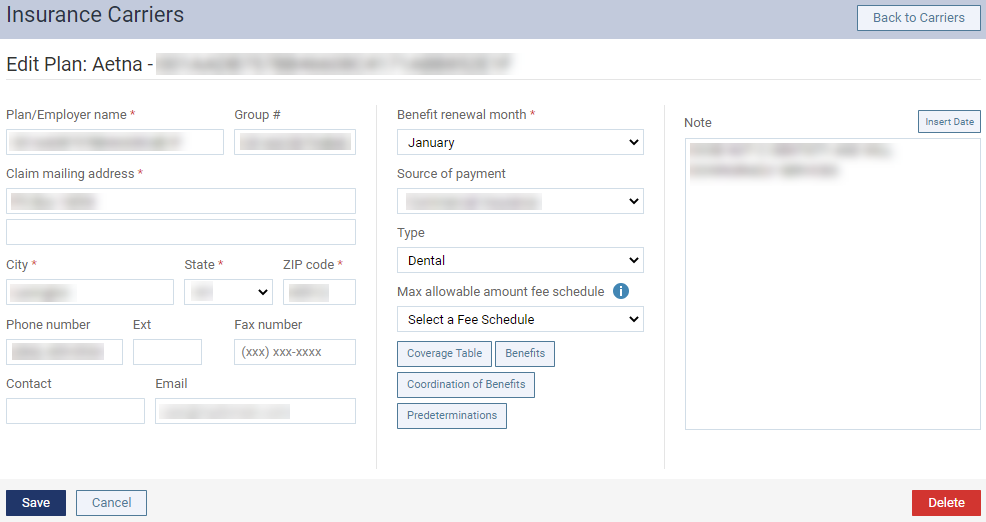
The options for editing the insurance plan displays.
-
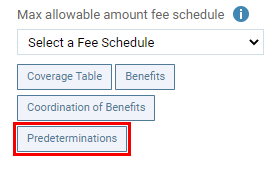
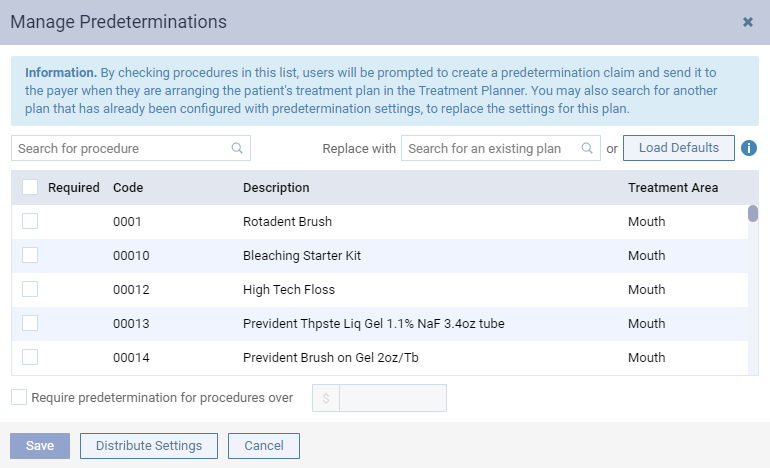
ClickTap Predeterminations to display the Manage Predeterminations window.
-
Complete any of the following:
-
Download the default Ascend Academic configuration.
-
ClickTap Load Defaults to download Ascend Academic's default configuration.
Note: The default configuration is based on 18 months' worth of survey data on procedures that were frequently requested for predeterminations. Once downloaded, these procedures will display with a
icon. -
Select or deselect check boxes as necessary to make additional changes.
Important: When you download the default configuration, it deletes all previous work done on the window. We recommend you download the default configuration first and then make additional changes.
-
-
Import a different insurance plan's predetermination configuration to replace the current plan's configuration.
-
Enter an insurance plan's name, group plan/employer number, or group number in the Replace with search field to import
Tip: You can do this if a different insurance plan already has the configuration you want for this plan.
-
Select the insurance plan in the search results to apply their selections.
-
(Optional) Select or deselect check boxes as necessary to make additional changes.
Important: When you import a configuration, it deletes all previous work done made on the window. We recommend you import first and then make additional changes.
-
-
Set procedures to require predetermination based on a financial threshold.
Note: A financial threshold will mark all procedures that exceed it as requiring predetermination.
-
Select the Require predetermination for procedures over check box and enter a dollar amount in the field.
The check box can be used with predetermination selections.
Important: If you replace the current selections with selections from a different plan, the check box is deselected. We recommend you import first and then set the financial threshold.
-
-
Select one or more procedures to set as requiring predetermination.

Once selected, the procedure displays with the
icon. You can also deselect the check box to remove the selection. Tip: To set all procedures as requiring predetermination, select the check box in the table header.
-
-
(Optional) Apply the predetermination selections on the window to other insurance plan(s).
You can apply the selections on the window to other insurance plan(s) from the same insurance carrier.
-
ClickTap Distribute Settings to display the Distribute Predetermination Settings window.
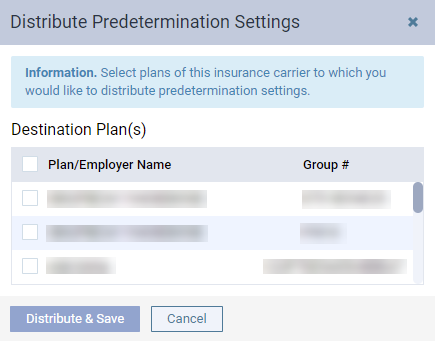
The window displays a list of insurance plan(s) that belong to the same insurance carrier with their plan/employer name and group number.
-
Select the check boxes of the plan(s) you want to receive the configuration.
-
When ready, clicktap Distribute & Save.
The windows close and the selections on the Manage Predeterminations window are saved.
-
-
When ready, clicktap Save. If you did Step 5, skip this step.
Comments
0 comments
Please sign in to leave a comment.