
After you have purchased Ascend Voice licenses and received a welcome email message from Henry Schein One, and you have purchased microphones, you must configure Ascend Voice before you can start using voice commands to enter perio exams, edit perio exams, and dictate clinical notes. The configuration requires you to install, register, and set up the browser extension powered by Bola AI. Then, you can test your microphone.
Important: The browser extension is only available for Chrome browsers.
To configure Ascend Voice
-
Install the extension.
-
On a computer that you want to use Ascend Voice, visit the link provided in the welcome email or https://chrome.google.com/webstore/detail/bola-ai-voice-perio-chrom/efcpoommkbigcpbekkjpmfcdbpgggfjg/related.
The chrome web store page opens in your browser.

-
ClickTap Add to Chrome.
-
When prompted, clicktap Add extension.

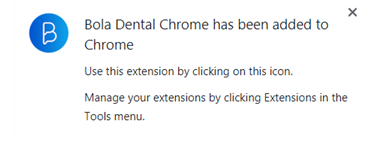
After the extension has been added, a message displays.
-
ClickTap the X to close the message.
-
To pin the extension to the top of the browser, on the Extensions menu, clicktap the
 icon next to Bola Dental Chrome.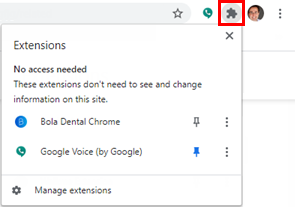
The Bola Dental icon now displays at the top of the browser for quick access.

-
-
Register the extension.
-
ClickTap the Bola Dental
 icon and select Help.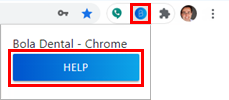
The Bola.AI page displays.
-
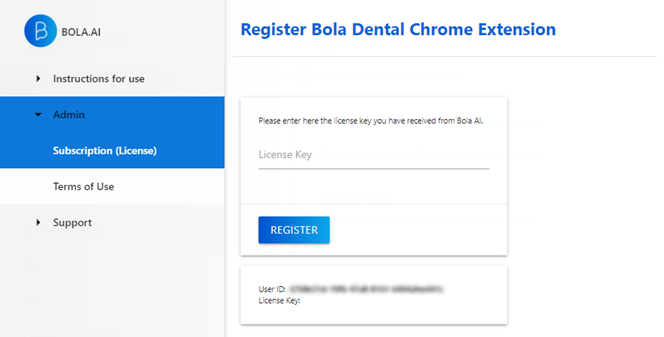
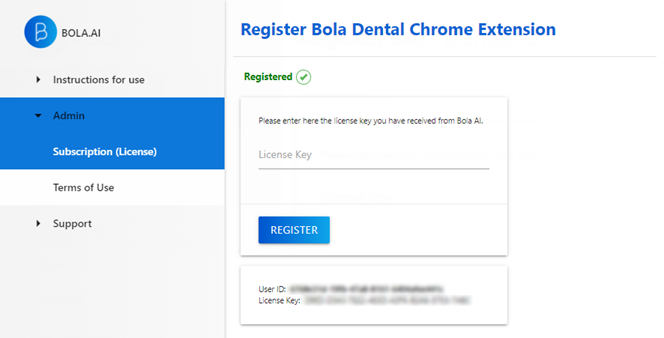
Under Admin, select Subscription (License).
-
Copy the license key from the welcome email message that you received after purchasing a license, and paste it into the License Key field.
-
ClickTap Register.
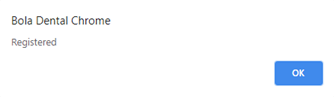
A message displays, indicating that the extension is now registered on the computer.
-
ClickTap) OK.
-
-
Set up the extension.
-
On the browser's Extensions menu, clicktap the More actions
 icon next to Bola Dental Chrome.
The Bola AI page displays.
-
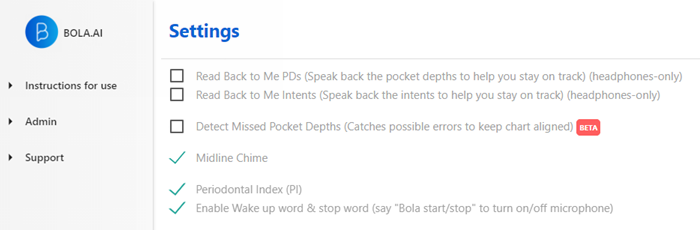
Set up the following default options:
-
Read Back to Me PDs - Select the check box to enable a voice to repeat back to you what Ascend Voice has heard and entered, while you are charting pocket depths or gingival margins continuously for a perio exam. This can help you stay on track.
Note: You can turn this functionality on or off for perio exams when you start a new perio exam or open an existing perio exam to edit.
-
Read Back to Me Intents - Select the check box to enable a voice to repeat back to you what Ascend Voice has heard when you speak a command, This can help you stay on track.
Note: You can turn this functionality on or off for perio exams and clinical notes when you start a new perio exam or open an existing perio exam to edit.
-
Detect Missed Pocket Depths - Select the check box to enable Ascend Voice to insert a zero (0) automatically for any missing pocket depths it detects in a perio exam. This helps ensure that the rest of your chart is accurate and allows you to go back and correct the value after the charting is complete.
-
Midline Chime - Select the check box to have a feedback sound (a click-pop) play when your charting of a perio exam has crossed the midline of the mouth.
Note: You can turn this functionality on or off for perio exams when you start a new perio exam or open an existing perio exam to edit.
-
Periodontal Index (PI) - Select the check box to have Ascend Voice display the periodontal index after you finish an exam.
Note: You can turn this functionality on or off for perio exams when you start a new perio exam or open an existing perio exam to edit.
-
Enable Wake up word & stop word - Select the check box to allow Ascend Voice to start or stop when you speak the applicable voice commands ("Bola Start" and "Bola Stop") so you do not have to clicktap the microphone icon.
Note: You can turn this functionality on or off for perio exams and clinical notes when you start a new perio exam or open an existing perio exam to edit.
-
-
-
Verify that your microphone works with the extension.
-
Plug in the USB connector of the microphone.
-
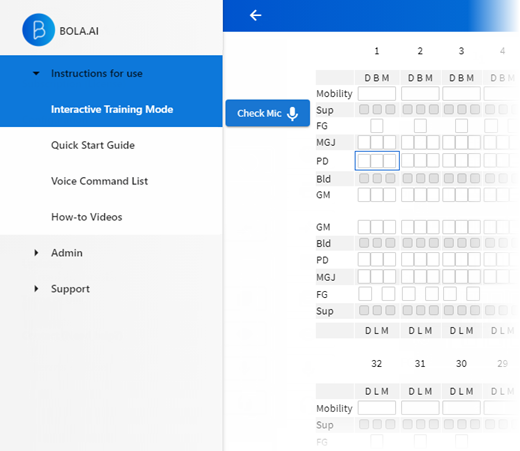
On the Bola AI page, under Instructions for use, select Interactive Training Mode or visit https://prod-dental-web-app.bola.ai/.
-
ClickTap the Check Mic
 button.
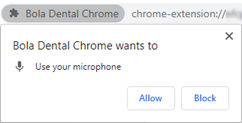
Tip: If the Chrome browser prompts you to grant permission for the website to use your microphone, clicktap Allow.
-
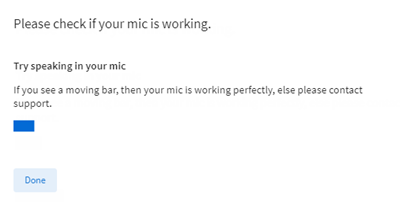
When prompted with a volume indicator, speak into your microphone. If you see a blue volume-indicator bar moving as you speak, your microphone is working.
-
When ready, clicktap Done.
-
If the microphone check was unsuccessful, verify if the microphone is being blocked by Chrome.
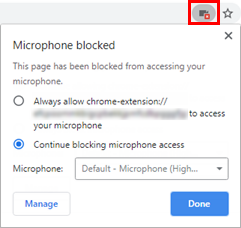
If a This page has been blocked from using your microphone icon displays, the microphone is being blocked.

To unblock the microphone:
-
ClickTap the icon to open a menu.
-
Select the Always allow radio button and clicktap Done.
-
Reload the page.
If the microphone is not being blocked but does not work, complete the following:
-
Unplug and plug in the USB connector of the microphone and repeat Steps c-f as needed.
-
Close all open browser tabs and windows and restart the browser.
-
Restart the computer.
-
-
Comments
0 comments
Please sign in to leave a comment.