
You can quickly acquire an image for the teeth that are selected on a patient's clinical chart.
Note: If the acquisition stops at any point because of a device error, you can fix the issue and clicktap Start to proceed with the acquisition.
To acquire an image
How to get to there
-
From the Patient menu, under Clinical, select Chart.
The patient record displays with the Chart tab selected.
Note: If the correct patient is not already selected, use the Patient Search field to access the patient's record.
-
On the patient's record > Chart tab, select one or more teeth and complete one of the following:

-
If you have selected teeth for a periapical image, from the Imaging tab's menu, clicktap PA Quick acquire.

The options to acquire an image become available and you can skip to Step 6.
-
ClickTap the Imaging tab menu and select Acquire Images.

The options for acquiring images become available and you can proceed to Step 2.
-
-
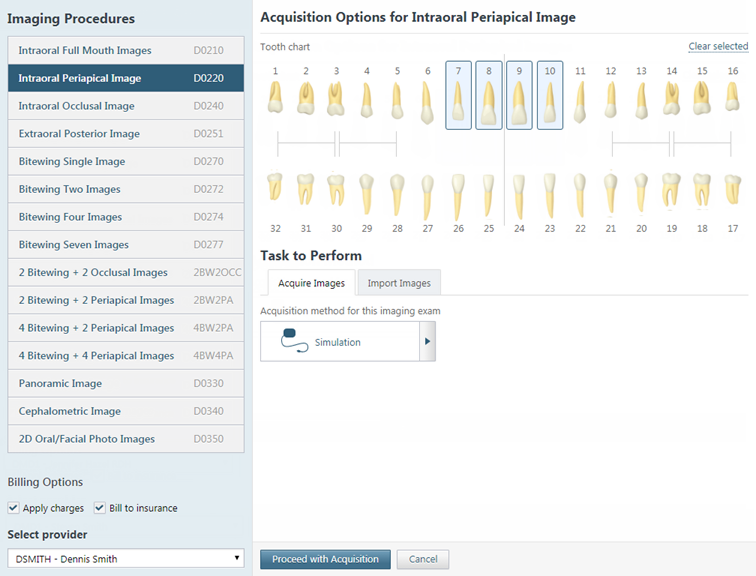
Under Imaging Procedures, select the procedure that you want to perform (an intraoral periapical or bitewing X-ray image).
The options for the selected procedure become available.
-
Under Billing Options, set the following options:
-
Apply charges - To post the fee for the selected procedure (such as D0220 for a periapical image), select the check box. To post a zero amount for the procedure, deselect the check box.
-
Bill to insurance - Specify whether you want to bill or not bill the patient's insurance carrier for the procedure by selecting or deselecting the check box, respectively.
-
Provider - Select the provider who you want to associate with the procedure.
-
-
Under Task to Perform, on the Acquire Images tab, the supported devices that have been installed and configured on this computer are available. If the device is not selected, select it from the device button menu.

Notes:
-
For the complete list of acquisition devices that are supported by Ascend Academic Imaging, see the "Supported Acquisition Devices" section.
-
The first time you attempt to use an intraoral camera with Ascend Academic Imaging on any computer, when a message from the browser displays and asks if you want to allow the browser to have access to the camera, allow it.
-
-
ClickTap Proceed with Acquisition to start acquiring an image for the corresponding acquisition type.
Note: A phantom, test target, and/or another non-human object should be X-rayed when installing or using any image acquisition device for the first time in Ascend Academic Imaging to verify proper operation prior to use on live patients.
The selected acquisition device begins initializing.

Then, the X-ray sensor begins arming.

Then, the X-ray sensor becomes ready for exposure.

-
If you need to change the selected acquisition device, select the correct device on the Available Devices for Procedure list.
-
From the Automatically Apply Enhancement list, select the type of enhancement that you want to have applied automatically to the image that will be acquired (Entire Image, For Perio, For Endo), or select Not Enhanced to not apply any enhancement.

Note: When viewing an image after it has been acquired, you can turn the enhancement off and on. The original, raw image is preserved. For more information about enhancements and turning them on and off, see the "Processing images" section.
-
Position the sensor in the patient's mouth, and align your X-ray source cone to point at the sensor, utilizing the paralleling or bisecting angle techniques. Set the appropriate exposure time on your X-ray source's control panel for the specific imaging device in use, and then trigger the radiation emission, which initiates the capture of the X-ray image. (Refer to the documentation provided by the manufacturer of your X-ray source for details about changing settings and usage.)
Note: Radiation from an X-ray source initiates the imaging device (sensor) to capture an image, and this is controlled by someone triggering the X-ray source. The Ascend Academic Imaging software does not directly control the X-ray source or exposure settings.
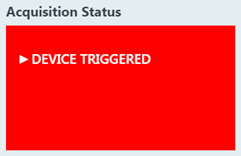
Then, the resulting image is saved to the patient's record.

Then, a preview of the image displays.

Note:

-
ClickTap Finish Acquisition.
Comments
0 comments
Please sign in to leave a comment.