
You can quickly chart a patient's conditions, existing treatment, and treatment needs during a full evaluative examination.
Note: Access to the quick exam features is controlled by the same security rights as those for dental charting and managing patient procedures.
To chart a quick exam
How to get there
-
On the Patient menu, under Clinical, select Quick Exam.
The patient's clinical record displays with the Quick Exam tab selected.
Note: If the correct patient is not already selected, use the Patient Search field to access the patient's record.
-
On a patient's record > Quick Exam tab, in the Providers... search field at the top, enter the provider who you want to associate with conditions, existing work, and treatment-planned procedures posted during the quick exam.
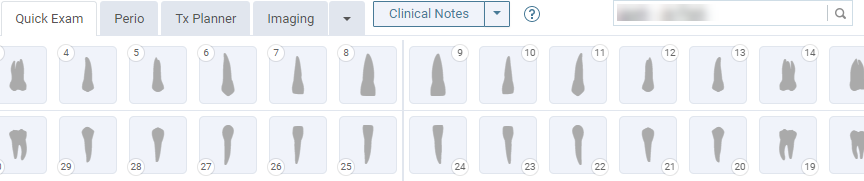
Tip: At any time during the quick exam, you can change the provider as needed before posting a condition or procedure.
-
Select one or more teeth.
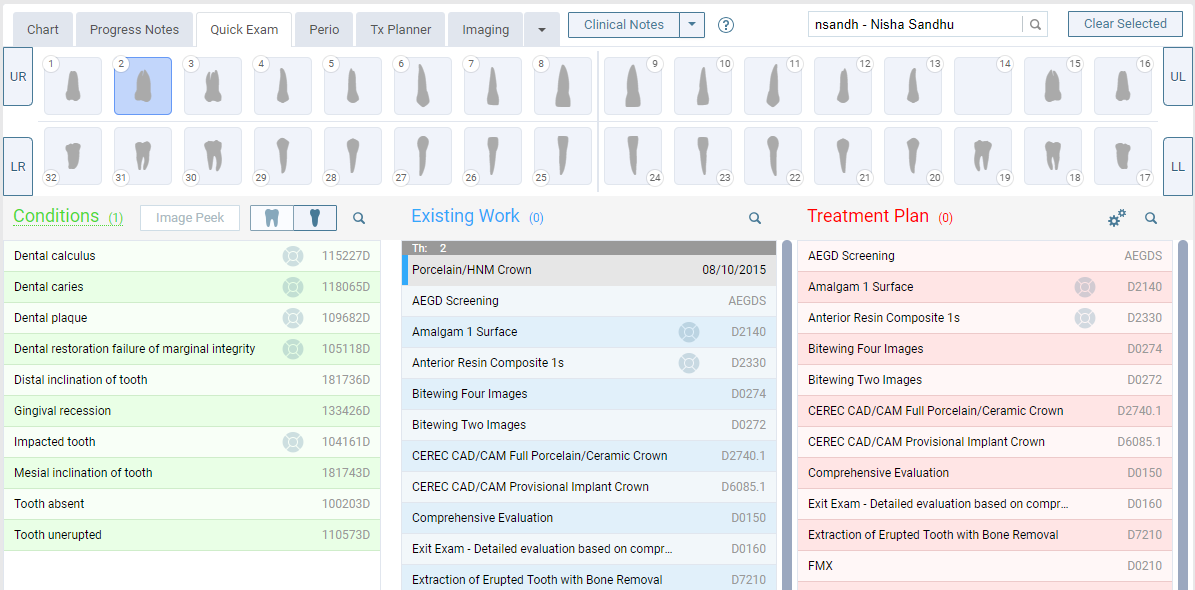
-
Complete any of the following as necessary:
-
Change the dentition.
-
Under the Conditions column, clicktap the Permanent Dentition or Primary Dentition button
 .
. Note: The button that is available depends on the current dentition of the selected tooth.
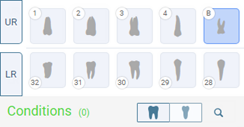
Tip: To change the dentition for all teeth to primary or permanent, clicktap Clear Selected and change the dentition.
-
-
Chart a condition.
-
Under the Conditions column, clicktap a condition to pin to the top of the column and to display a green box on the tooth that indicates a condition is associated.
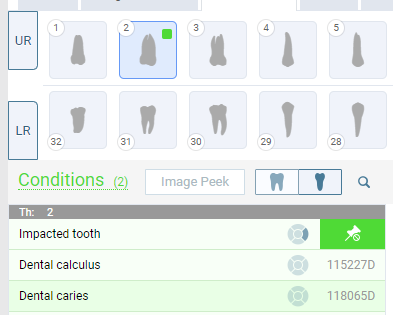
Notes:
-
Conditions are listed only if a tooth is selected.
-
The condition remains pinned to the top of the column while the current tooth is still selected.
Tip: To search for a condition, clicktap the column's Search
 icon, and enter part of a SNODENT code, SNOMED CT code, or description in the field that displays.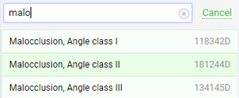
-
-
If prompted to select a surface and the condition requires a selected surface, clicktap the appropriate surfaces and close the pop-up.
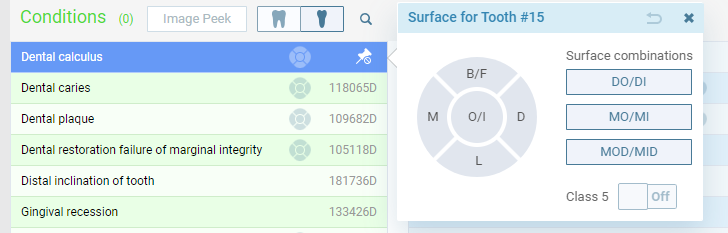
Note: To set Class 5 to On, at least one of the applicable Surfaces must be selected: mesial, distal, lingual, or facial/buccal.
If clinical decision support (CDS) is turned on and procedure codes are associated with the condition, the potential treatment displays at the top of the Treatment Plan column, allowing you to quickly treatment plan a procedure relevant to the diagnosis.

Tips:
-
If you want to use a procedure in the Treatment Plan column > Potential Treatment (Clinical Decision Support) area to treat the selected condition and the potential treatment requires areas that the condition does not, you can specify those treatment areas when you treatment plan the procedure, just like other procedures in the Treatment Plan column.
-
To delete a posted condition, clicktap the Unpin
 button and clicktap Delete.
 -
If you selected a watch tooth (delay treatment) condition, you can select the surfaces and enter any necessary watch notes. When finished, a graphical representation of the surfaces involved displays.


-
-
-
Chart existing work.
-
Under the Existing Work column, clicktap a procedure to pin the posted procedure to the top of the list and to display a blue box on the tooth that indicates an existing procedure is associated.
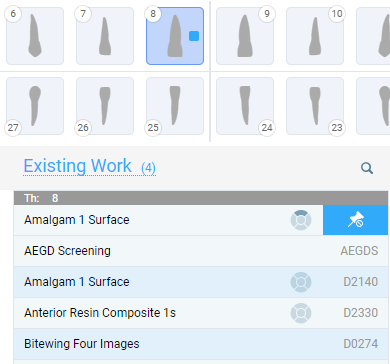
Notes:
-
The procedure remains pinned to the top of the column while the current tooth is still selected.
-
The procedures that are available depend on if a tooth is selected. Also, only procedures that have been marked as favorites appear in the column.
-
-
If prompted to select a surface and the procedure requires a selected surface, clicktap the appropriate surfaces, then close the pop-up box.
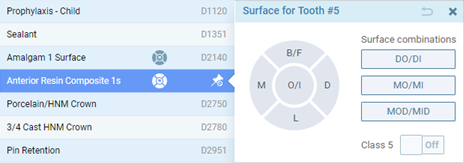
Tip: To search for a procedure, clicktap the column's Search
icon, and enter part of a procedure code or description in the field that displays.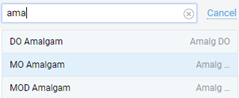
Tip: To delete a posted procedure, clicktap the Unpin
 button and clicktap Delete.
-
-
Treatment plan a procedure.
-
Under the Treatment Plan column, clicktap a procedure to pin the posted procedure to the top of the list and to display a red box on the tooth that indicates a treatment-planned procedure is associated.
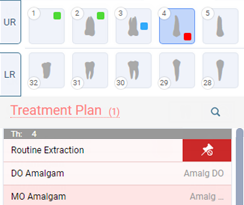
Notes:
-
The procedure remains pinned to the top of the column while the current tooth is still selected.
-
The procedures that are available depend on if a tooth is selected. Also, only procedures that have been marked as favorites appear in the column.
-
-
If prompted to select a surface and the procedure requires a selected surface, clicktap the appropriate surfaces and close the pop-up.
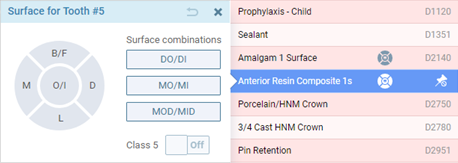
Tip: To search for a procedure, clicktap the column's Search
icon, and enter part of a procedure code or description in the field that displays.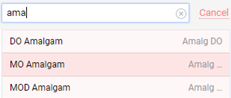
Tip: To delete a posted procedure, clicktap the Unpin
 button and clicktap Delete.
-
Notes:
-
If you chart a tooth-specific condition with one or more teeth, but not a whole quadrant or arch selected, then treatment plan a procedure for a quadrant or an arch, Ascend Academic assigns the correct treatment area automatically for the posted procedure.
-
If you chart a mouth-specific condition with no teeth selected, then attempt to treatment plan a procedure for a tooth, a quadrant, or an arch, a message displays, asking you to select the correct teeth and try to post the procedure again.
-
If you chart conditions and then, with the same tooth (or teeth) selected, treatment plan procedures to treat those conditions, the conditions (diagnoses) are associated with those procedures automatically. When you create a predetermination for the procedures, the corresponding ICD-10 codes are attached to the predetermination. The diagnoses remain linked to the procedures when you complete the procedures. When you create a claim for the procedures, the corresponding ICD-10 codes are attached to the claim. You can remove diagnosis codes from a treatment-planned or completed procedure before creating a predetermination or claim for the procedure, and you can remove ICD-10 codes from predeterminations and claims as needed.
-
-
Create a clinical note as necessary.
Tip: If a tooth is selected, it is associated with the clinical note by default. To create a clinical note that is not tooth-specific, clicktap Clear Selected before adding the clinical note.
Note: After you create the clinical note and close the Add Clinical Note window, the quick exam re-displays.
-
Repeat Steps 2 - 4 as necessary for each tooth.
Tips:
-
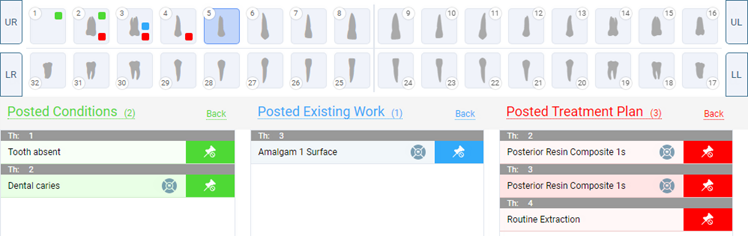
During the quick exam, you can clicktap the Conditions, Existing Work, and/or Treatment Plan column header name to open a link to view items posted today without selecting each tooth to see the pinned items or navigating to the progress notes.

-
To switch back to viewing a column normally, clicktap the column header name or the Back link.
Comments
0 comments
Please sign in to leave a comment.